Makeblock mBot: Not only suitable for robotics beginners
The mBot from Makeblock is a robot for beginners and advanced users alike. Thanks to the accompanying graphical programming interface, new programmers can easily get to grips with the mBot. But more experienced users will also get their money's worth.
Makeblock offers various robots in a modular system. Like other models, the mBot can also be expanded and customised with all kinds of accessories. Alongside the Lego Boost, the mBot was the first robot I tried my hand at. It is very easy to assemble and I quickly familiarised myself with the functions. This robot is therefore also suitable for noobs like me. 😀
Construction
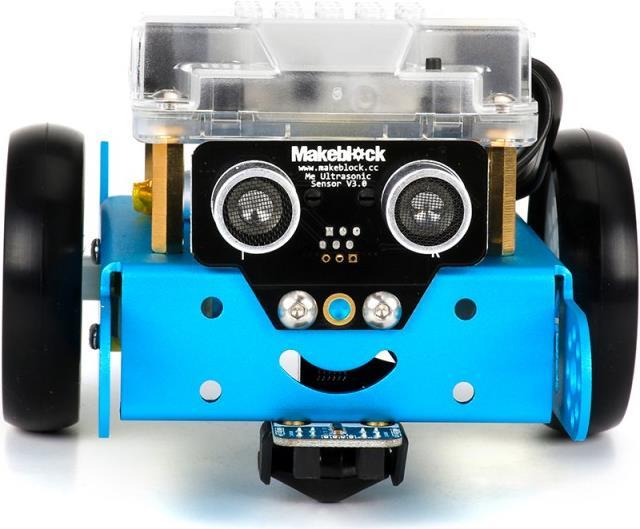
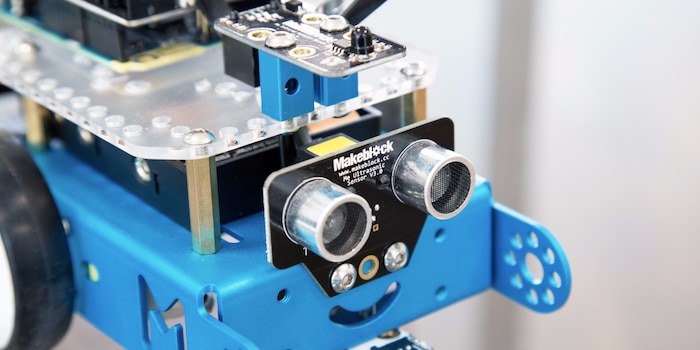
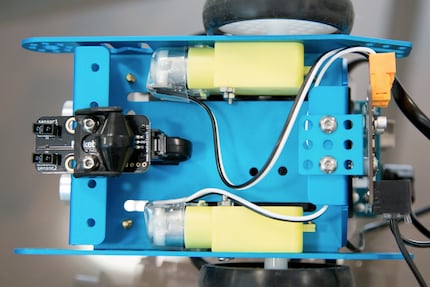
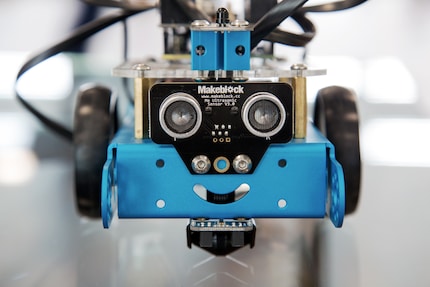
The basic element of the mBot is a blue metal plate. All modules, sensors and movement units are attached to it. The mBot is driven by two motors that set the two wheels in motion. The mBot has several sensors to help it navigate its surroundings. On the one hand, it has a line-follow sensor, an ultrasonic sensor and an infrared receiver. The two boards are the centrepiece of the robot. On the one hand, the mBot has a Genuino 101 and a UNO Shield from Arduino. Six AA batteries are required for operation, which are not included in the scope of delivery. The button battery for the remote control must also be purchased in addition to the mBot.
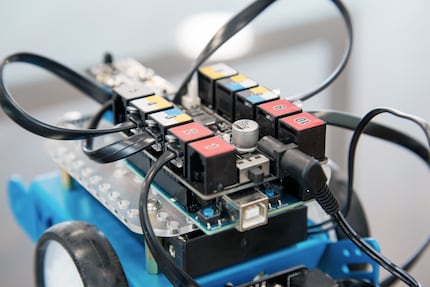
Assembling the mBot is extremely simple. Thanks to the easy-to-understand assembly instructions, even inexperienced robotics beginners can tackle this robot without any problems. I needed about 20 minutes to assemble it. However, it can also be done more quickly. I always take my time with this step. The fact that you assemble all the sensors and modules yourself gives you an insight into how robots work. Although everything is explained step by step, it's still exciting and educational for a newbie like me.
All individual parts can be attached using the screwdriver supplied. No additional tools are required. The connections between the sensors and the circuit board also do not require a soldering iron. All cables can be clipped into the slots provided. How to wire the sensors is explained in the instructions with pictures.
Predefined modes
The mBot already has three different functions programmed in at the factory. These functions can be called up using the remote control supplied. Firstly, you can control the robot remotely. To do this, press the "A" button on the remote control. The direction of the robot can then be determined using the arrows. You can use the numbers 1-9 to determine the speed of the ride.
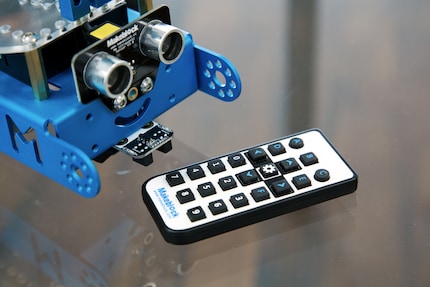
Pressing the "B" button on the remote control switches the robot into automatic driving mode. It drives around independently and recognises objects that block its path. It automatically avoids them and continues its journey. It recognises the objects fairly well. However, it has problems if they do not appear directly in front of it. If it approaches something at a steep angle, it does not recognise it and crashes into the obstacle.
The third pre-programmed mode can be called up using the "C" button on the remote control. In this mode, the mBot can follow a black line on the floor. For this purpose, you have a large sheet of paper with an 8 printed on it to try out. If you place the robot on this sheet, it will follow the black line until you stop it again. You can also draw your own routes. All you need is a light-coloured background and a dark line. You can either draw these on with a pen or stick them on with dark adhesive tape.
How can I programme it?
In addition to the pre-programmed modes, you can also programme the mBot yourself. Makeblock has developed a programme called mBlock for this purpose. MBlock is a software with a graphical programming interface. This means that you do not have to enter the code via text, but can compile it using drag and drop. The "drawn" code can then be converted into text, allowing you to load it onto your robot.
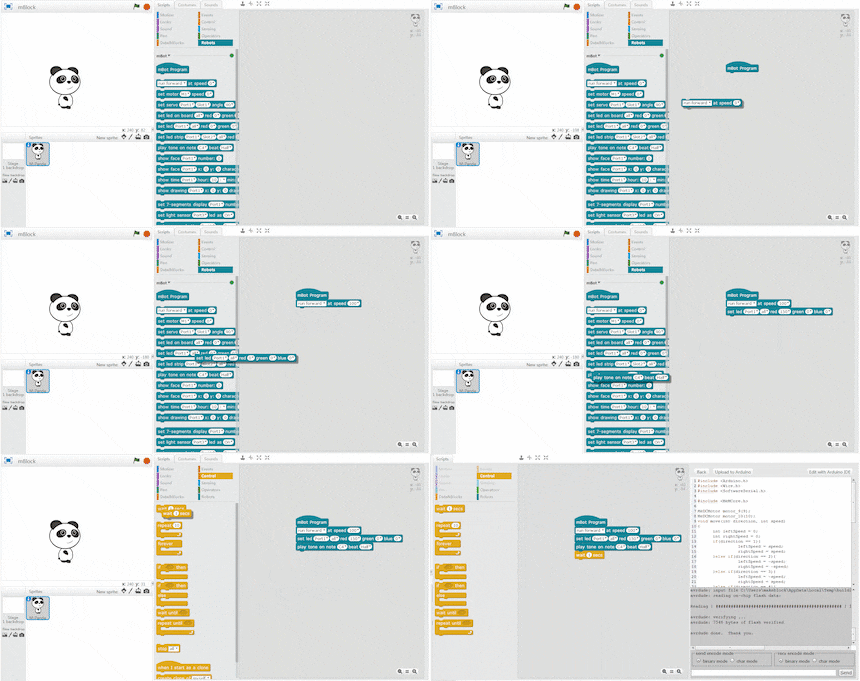
The graphical programming interface is particularly interesting for beginners and those new to programming. No prior knowledge is required to get to grips with it. The programme also offers a learning mode in which you are introduced to all commands step by step.
The software is available free of charge for desktop (Windows & Mac), as well as for mobile. The desktop version can be downloaded directly from their website. For Android and iOS, mBlock is available in the respective app stores.
Conclusion
The mBot is suitable for both beginners and advanced users. Assembly is child's play, which is why even children should have no difficulty with the robot. It has pre-installed modes that can be called up via the remote control. In addition to these functions, you can programme it on the desktop or on a mobile device using the mBlock graphical programming interface. I enjoyed the mBot and was able to learn more about robotics and programming thanks to it. I can imagine that the mBot would also do well in a classroom. It can be used to introduce children to robotics in a playful way. If you're also a newcomer to this area yourself and the hurdle has been too high for you so far, the mBot from Makeblock is just the thing for you.

To the entire Makeblock range.
