
Guide
My Google Pixel 10 slips, I curse - and a piece of tape saves the day
by Luca Fontana

When reducing the size of an image, every pixel has to be recalculated. I have investigated what exactly happens in the process. And what effects this has on the image noise.
More or less complex calculations take place when reducing the size of an image. To demonstrate this, I will start with a simple example: a bitmap with 24 pixels in width and 16 pixels in height. So 24×16 pixels. The image is to be reduced to a width of 10 pixels. If the aspect ratio remained unchanged, this would result in a new size of 10×6.666 pixels, strictly speaking. But that is not possible. So I round up to the next whole number, namely 10×7 pixels. With large images, these rounding errors are not visible and therefore don't really matter.
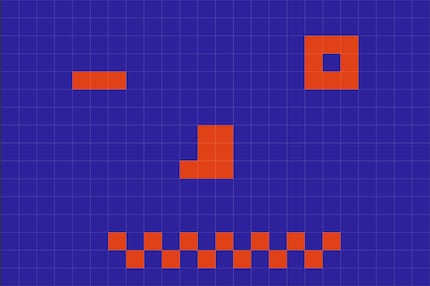
The difficulty: A pixel in the centre is made up of several pixels from the original image. Some pixels are only cropped. In the following excerpt from the face above, you can see how the pixel grid changes when the number of pixels is reduced from 24×16 to 10×7. The grid with the large fields shows the new pixels - they are larger because there are fewer of them.
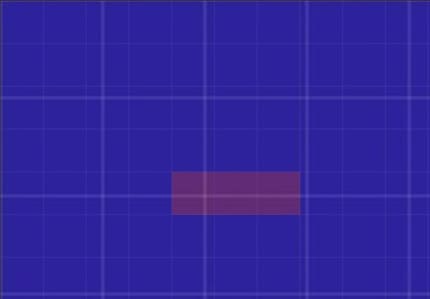
The question now is: What is the correct colour of each pixel? Do I just take the colour of any pixel from the original image? That would be a rather primitive approach. It is probably smarter to look at the other pixels in the neighbourhood and include them in the process.
The method used to recalculate the pixels is called interpolation. Image editing programmes such as Photoshop know several interpolation methods. In principle, they can be used to both reduce and enlarge images. In everyday life, however, downsizing is much more common.
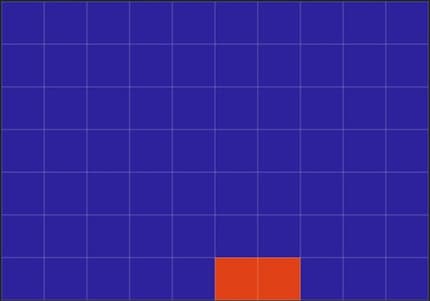
Pixel repetition is the simplest method. It simply determines which pixel in the original image is closest in position to the pixel in the new image and then simply adopts its colour. This leads to very clunky, unsmooth transitions. In our example, it also means that red parts of the image, namely the eyes and nose, simply disappear.
Bilinear is a little more sophisticated: The colour is calculated from the four pixels that are closest to the target pixel. In our example, all elements of the face are retained. However, diluted. Because by including the neighbouring pixels, more or less blue is also mixed into the red.
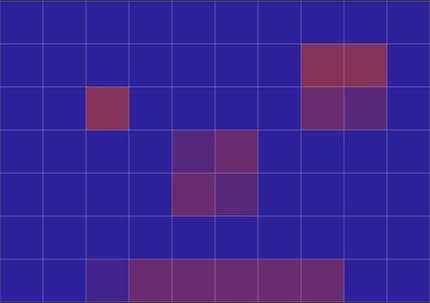
In contrast to pixel repetition, the bilinear method also calculates intermediate colour tones. There are five of these in a two-colour image:
In the bilinear downscaled image above, there is no pure red because there is no larger red area in the original image.
Bicubic is the most advanced method. The software includes even more pixels in the calculation. However, the original colours are also diluted here. There are even more intermediate colours than with bilinear interpolation. An image that is scaled down bicubically becomes blurred.
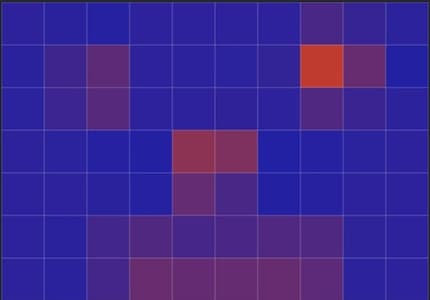
I have not found out how many more intermediate tones there are, as there are several bicubic calculation methods. But there are definitely more than five.
Bicubic sharpening is the method that Photoshop selects by default for reducing the size. The method attempts to sharpen the blurred edges. This is why you see pure blue to the left and right of the nose in the centre.
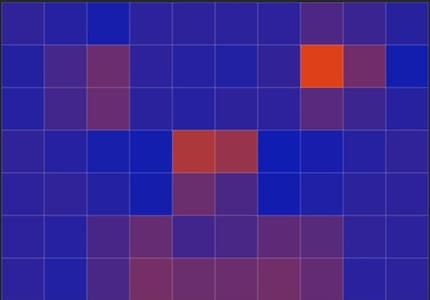
Of course, none of the methods work well with so few pixels. The dilution would only be visible at the edges of an object in a real photo, everything would be okay in the centre. I have used the simple smiley image so that you can see the differences in the calculation methods better.
However, my example is not entirely unrealistic. This is because image noise, which occurs in real photos at high ISO sensitivities, is basically exactly what happens: individual pixels have a colour and brightness that deviates from the basic tone.
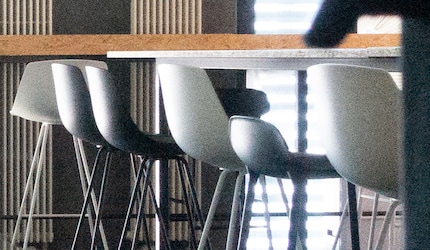
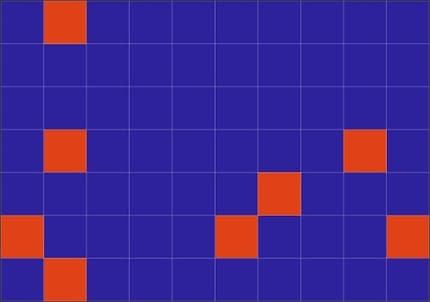
When the image is reduced in size, the deviations are levelled out - the noise disappears or is at least greatly reduced. To illustrate this, here is an image that comes closer to the random distribution of noise.
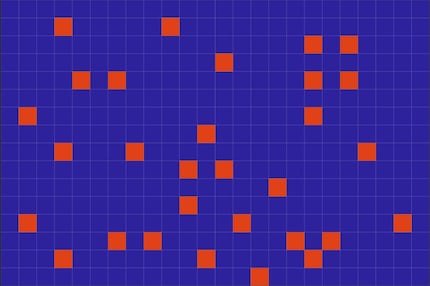
Bicubically reduced to a sharper scale, it looks like this:
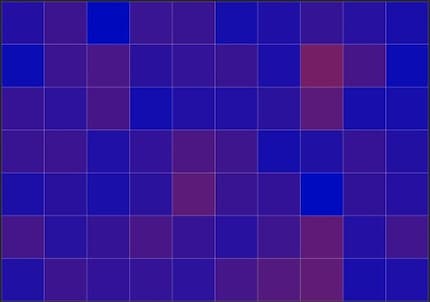
With pixel repetition, individual deviating pixels disappear completely. But those that do not disappear continue to shine in all their glory - the bottom line is that the result is worse.
This is all the more the case as the deviating colours in image noise are generally not as contrasting as red and blue. The deviation looks more like this:
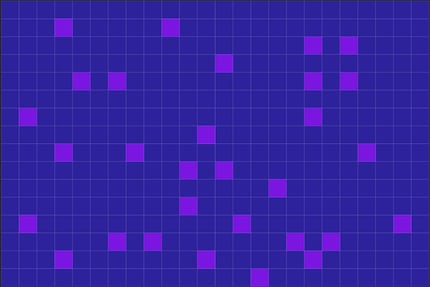
With bicubic interpolation, this already results in a fairly even surface:
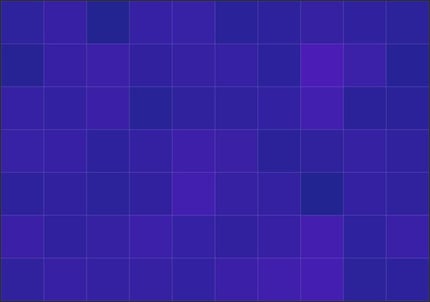
In other words, bicubic interpolation smoothes out the unevenness caused by image noise.
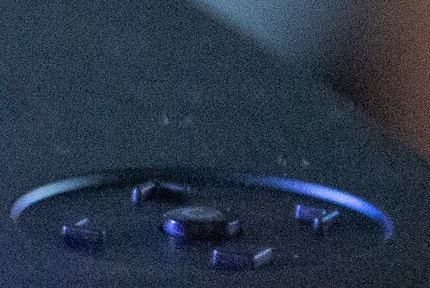
The following photo has an ISO of 12,800 and is therefore quite noisy. I first show a section so that the noise can be clearly seen.
The whole photo, downsampled to 700 pixels using the "bicubic sharpening" method. The noise has largely disappeared:
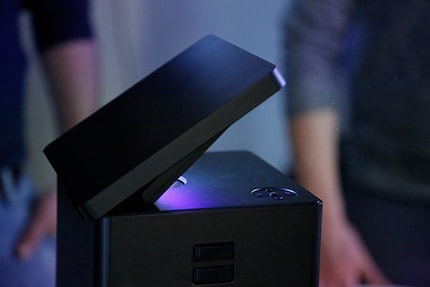
Here is the result with the bilinear method. Very similar, but the edges are somewhat softer, as expected:
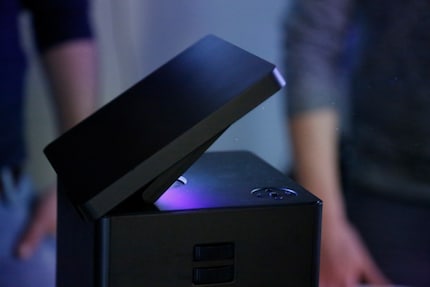
Pixel repetition is clearly the most noisy, as the missing pixels either disappear completely or remain completely intact:
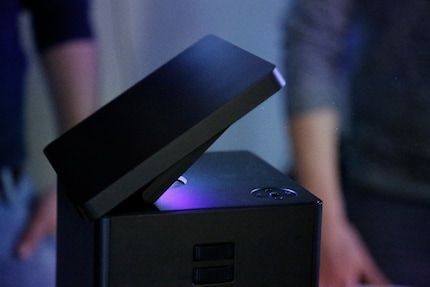
The following is important for everyday life: Image noise largely disappears when you reduce the size of images. Your software is most likely using a bicubic method that removes the noise particularly well. With the "bicubic sharper" method, your photo will still remain sharp.
My interest in IT and writing landed me in tech journalism early on (2000). I want to know how we can use technology without being used. Outside of the office, I’m a keen musician who makes up for lacking talent with excessive enthusiasm.
Practical solutions for everyday problems with technology, household hacks and much more.
Show all