
Guide
Photo editing: equalising differences in brightness
by David Lee

Ever been disappointed with your forest photos? A better camera isn’t what you need.
I like photography and I like walks in the woods. So, every now and then I try to bring home a good photo from the forest. And time and time again, I struggle. Why? A combination of colours, light and composition.
Most cameras set the white balance incorrectly in forests. Because large portions of the image are green, the camera attempts to correct a green tint by adding a magenta cast. This is especially noticeable on the forest floor, which looks purple instead of brown.
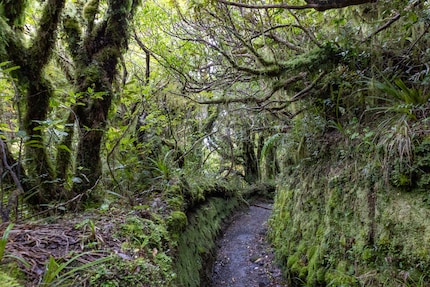
The solution’s simple: always shoot in RAW and adjust the white balance afterwards in a RAW editor, such as Adobe Lightroom. JPEG format will also work at a push, but the correction’s lossy and limited.
In the example above, the green-magenta slider’s at +36. That’s way too much magenta. As a first step, I’ll move it towards green, around +10. For some images, it might even be greener.
The blue-yellow slider – or colour temperature – is also usually set too cold in forests. In the example above, it was 4,200 Kelvin (K). I set it to 6,700. How much you adjust here will depend on your taste. Many people prefer cooler colours. As a guideline, cloudy skies are around 6,500 K and shade’s around 7,500 K.
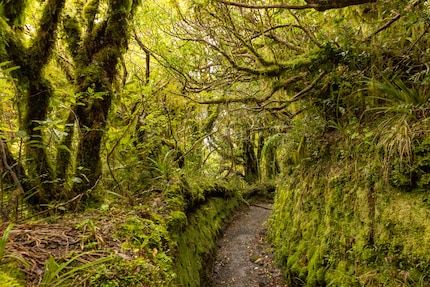
In the shaded forest, there are spots where the sun shines through the branches or a bit of sky’s visible. The camera can’t handle such a large contrast in brightness. The photo’s overexposed in the bright areas or underexposed in the dark areas – or both.
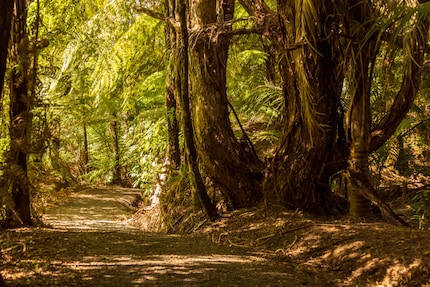
Mobiles compensate for these differences surprisingly well. They take multiple shots with different exposures and combine them. However, the results look pretty unnatural.
The solution to this problem isn’t to buy a better camera. Even cameras with the best dynamic range are overwhelmed by the interplay of light and shadow. Shooting in RAW format rather than JPEG is more important than the camera. This gives you more flexibility when correcting under and overexposure. Above all, however, avoid harsh light.
The easiest way to achieve this is to photograph in bad weather. Also, try photographing a scene without sky. Even an overcast sky is still too bright compared to the shadowy forest.
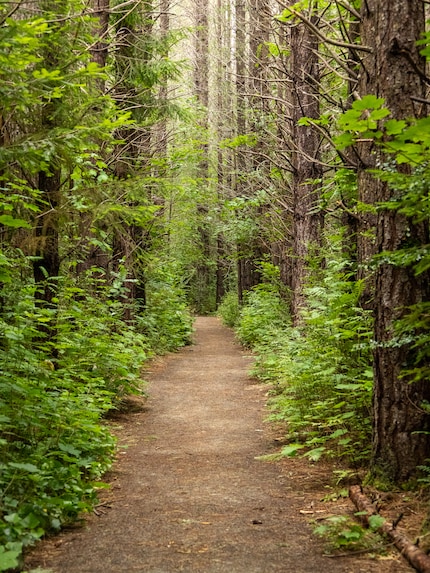
When I walk in the forest, it’s often the overall impression that I like – but I don’t know how to capture it in a photo. «Getting everything in focus» doesn’t work – a photo needs a clear subject or at least clear geometric structures. You have to actively seek out both in the forest.
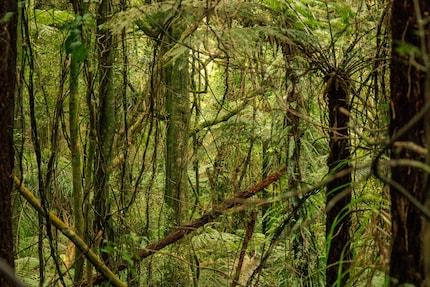
The image above would be fine without the blurred branches in the foreground and the two diagonal trunks. It’d still lack a subject, but it’d have a certain regularity that’s pleasing to the eye.
But achieving something like that’s difficult. It takes a long time. If you’re in a group and the only one taking photos, it’s not an option.
Forest paths and streams add structure to the image – much easier. At the same time, however, these are where you’re most likely to struggle with the brightness problems described above. Try photographing a straight forest path with a slightly telephoto lens instead of a wide-angle lens, so with a focal length of 50 to 100 millimetres in full-frame format. The vegetation’s more compact, and overexposed areas are easier to avoid.
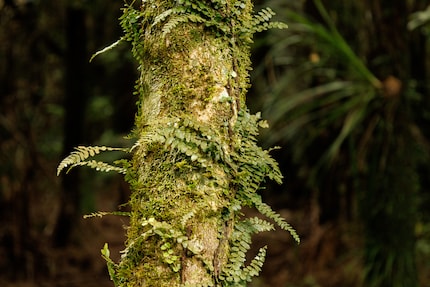
Another simple method’s photographing details. Tree bark. Mushrooms. A leaf. In this case, the sun can shine on it while the background’s dark. Ultimately, you don’t need to see much of it.
My interest in IT and writing landed me in tech journalism early on (2000). I want to know how we can use technology without being used. Outside of the office, I’m a keen musician who makes up for lacking talent with excessive enthusiasm.
Practical solutions for everyday problems with technology, household hacks and much more.
Show all