Super Nintendo brand: Super Mario on the Raspberry Pi
Nintendo occasionally makes money from nostalgia when the Japanese company releases its classic consoles. But they are always out of stock. So I just build my own. And you can do the same.
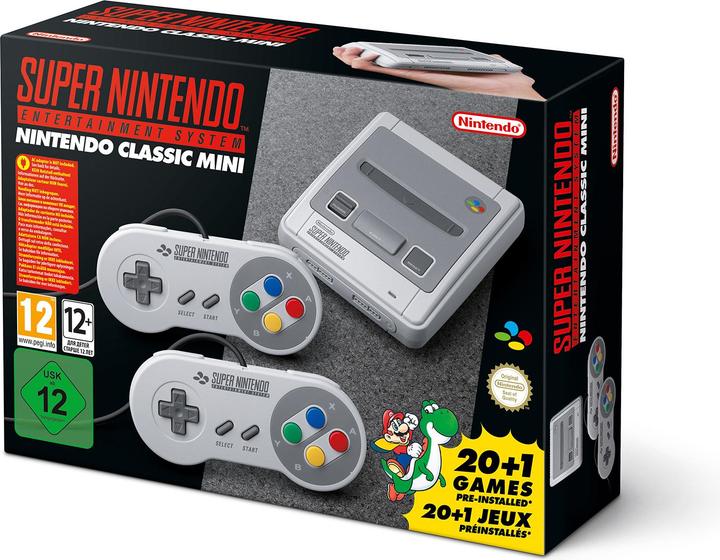
Nostalgia has a future. Or something like that. In recent years, Nintendo has relaunched its consoles from the 1980s and 1990s - according to many, the golden age of video games. With success. We know from experience that every Super Nintendo Mini Classic is only in our warehouse for a few hours. Subsequent delivery date? Unknown. Used, you'll pay over 200 francs on our resale platform.

Let's be honest: that's crap.
Based on this situation, I sat down and did some research. I can tell you: there is another way. But you have to build your own Super Nintendo. I'll show you how to do it.
For this approximately three-hour project, you need to be able to do the following:
- Tighten the screws
- Plug in cables
- Type out commands
Also: The project is perfect for something you can do with your children, nephews or nieces. Because at the end you can sit down and play games.
The hardware
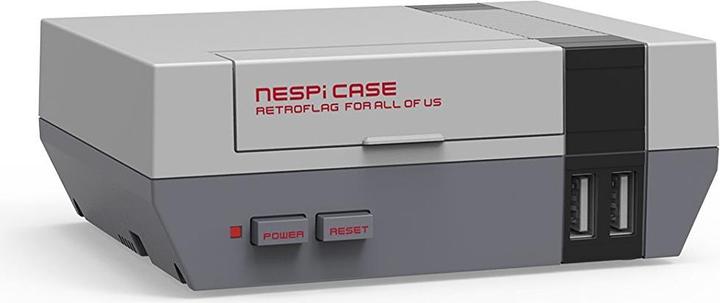
I recently wrote about the best piece of plastic ever. Turns out it's the second best piece of plastic ever. Because the best piece of plastic of all time is the NESPi case. Because it also contains electronics that make it much easier to use. Thanks to user s1reinha, who brought this to my attention.
Okay, the NESPi case looks like a Nintendo Entertainment System, not a Super NES. It doesn't matter. The NES looked better than the SNES anyway.
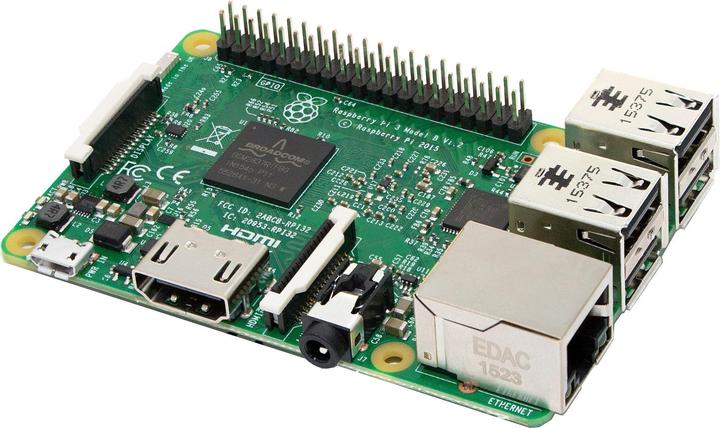
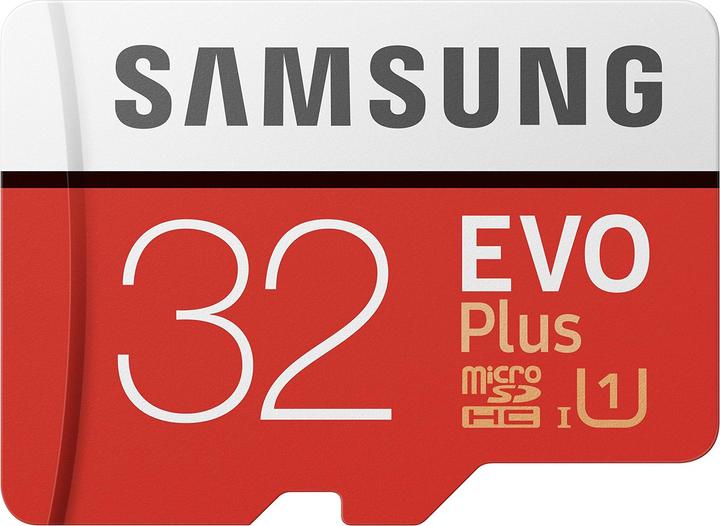
As the name suggests, you stuff a Raspberry Pi into the NESPi Case, along with a small memory card and a power supply unit.
To do this, you need two controllers for the SNES. These controllers are connected to a computer via a USB port.
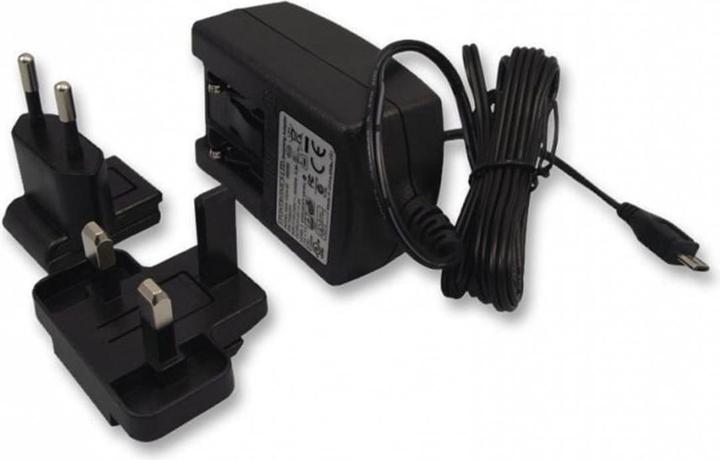
Raspberry Pi Official Power Adapter Pi 3 Micro USB Black
This will cost you slightly more than an SNES Mini, but unlike the SNES Mini, my SNESPi is available. You'll need other parts for the setup. It doesn't matter which keyboard you use or which screen you attach, as long as it can be connected to a Raspberry Pi via HDMI. You can also use your TV at home.
The parts in my setup, so plusminus with the items you see in the pictures:
You need this small list for the one-off setup. So buy the cheapest one if you have to buy something or take something lying around at home. The controllers, the memory card, the Pi and the case are important for the long-term success of the setup.
The software
Emulators have been around since the early days of the internet. This is because resourceful minds back then discovered that a computer is, surprisingly, a computer and that system A can, in principle, do the things that actually run on system B.
The RetroPie project goes one step further. The developers have rewritten and modified an entire operating system so that it is designed to emulate consoles and games. The modified operating system is Raspbian Jessie, the operating system for Raspberry Pi minicomputers.
You can only configure the software on a second computer so that the Raspberry Pi knows that it needs to start it. So, on your main system, download the following data.
- RetroPie: A Linux version, based on Linux Debian, specifically customised for Raspberry Pi and for emulation
- For Windows Win32DiskImager
- For MacOS Etcher
And now let's give your Raspberry Pi an operating system.
- Connect the card reader to your PC or Mac
- Insert the memory card into the card reader and wait until your operating system can work with the card
- Unzip the Raspbian zip
- Tell Etcher or Win32DiskImager that the unzipped .img file must be written to the memory card
- Wait until Etcher or Win32DiskImager tell you that the whole operation is finished
The software setup is complete. We will now configure the Raspberry Pi. But first the small computer has to be installed in the case.
Raspberry Pi in the NESPi case
The most technically demanding part of the SNESPi setup lies ahead of you. And at the end of this section you will think: "That wasn't so difficult". Good, because then you'll know what else to expect.
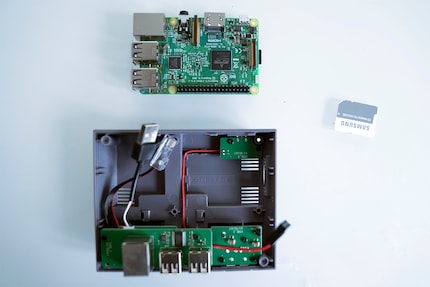
There is exactly one way to fit the Raspberry Pi into the NESPi case. If you turn the cartridge flap of the NESPi Case towards you, the cables inside the device are on the left-hand side. The USB ports and the RJ45 network port of the Pi are also on the left in this case.
- Plug the USB cable of the case into any USB socket. This activates the USB ports on the front of the case
- Plug the RJ45 cable into the RJ45 port
- Connect the buttons
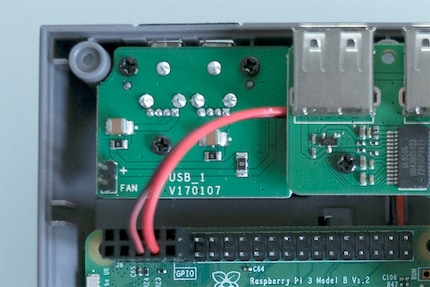
The last point is the only one that requires some expertise. Without turning the Pi, turn the third cable so that the black cable is on the left. The red one on the right. Plug the connector into the contact comb at the bottom right of the Pi. If nothing happens when you first switch it on, then this is probably where your error lies.
On the following picture you can see how it should not look like. Because I made the same mistake at first.
Now we are ready for a system test and some configurations. Most of them you only have to do once. Speaking of which, I leave the setup open at first, because if it turns out that I made a mistake in the hardware phase, then I'm just annoyed about having to unscrew the screws again. That's why I only close the case at the end and after all the functional tests.
- Plug your controllers into the controller ports
- Plug the keyboard into a third USB port
- Plug the memory card into the memory card slot of the Pi
- Plug in the power supply
- Plug in the HDMI cable
And now: power on!
What we need the keyboard for
If you have done everything correctly so far, white text will flicker across the screen and a programme called "Emulation Station" will start. To access the configuration of the operating system, press F4 on your keyboard.
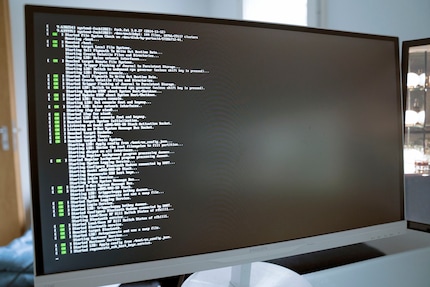
Don't worry, it has to be like this
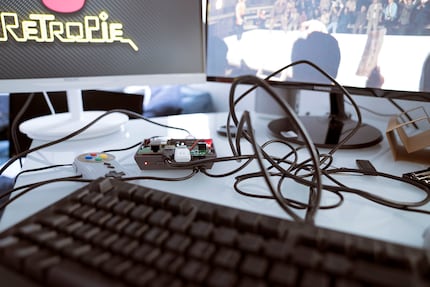
The command line appears. Time for you and your kids or whoever to feel a bit like hackers:
sudo raspi-configTo enter this command, you need a hyphen. But your keyboard is currently in US layout. No problem. The hyphen is right next to the 0 at the top of your keyboard.
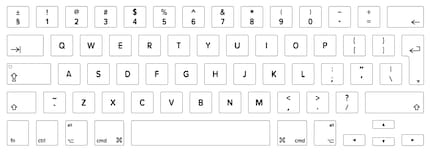
Type the command and press Enter. In the following options screen, select "Advanced Options" and deactivate the overscan. Save and close the options and enter the following command in the console:
sudo rebootYour Pi will restart.
But now with controllers
Retropy and Emulation Station are designed to be controlled entirely with a controller. That's pretty cool. But before we get to that point, we need to configure the controllers. This is very easy, because Emulation Station recognises that a controller is attached.
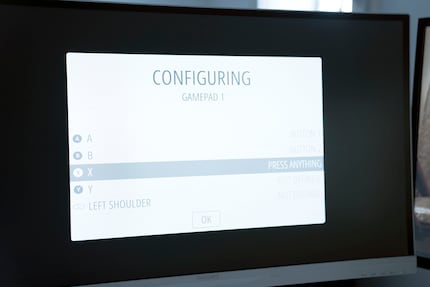
- Press and hold a button on your controller
- The config screen for the controller is self-explanatory: press the button that the software asks you for
- You can skip any button that you do not want to assign by pressing and holding down the directional pad
- Press OK
Your SNESPi is now fully operational. Except that there are no games on it yet.
But now: Super Mario, Mortal Kombat and Secret of Mana
For legal reasons, I can't tell you where you can get the games for your SNESPi. But they're... out there. You already know where. The Emulation Station swallows the following file types:
- .7z
- .bin
- .fig
- .mgd
- .sfc
- .smc
- .swc
- .zip
Load your ROMs - that's the name of the files that are actually console games - onto the USB stick that you emptied beforehand. Don't put them in a subfolder, but simply in the main directory. This will be important in a moment.
- Plug the USB stick into the free USB port of your SNESPi
- Switch on your SNESPi
- Press F4 to enter the console
Now some Linux magic comes into play. Retropie is nothing more than one of the countless Linux versions out there. Therefore, all common Linux console commands work. We now copy the games into the directory where the emulation station is looking for the SNES games.
/home/pi/RetroPie/roms/snesYou can copy the data quite easily. It is quite possible that this can be done with a command line, but we make sure that we copy from the correct directory. So we go into the directory to see what's in there.
So enter the following command in the console:
cd /media/usbIf this does not work, try usb0 instead of usb, but usb should be sufficient. Find out what is in the directory:
lsIf all goes well, you should see your ROM files. They are ready to be copied.
cp -v * /home/pi/RetroPie/roms/snesThis command comes with modifiers and everything. So I'll explain it in detail.
- cp: Copy
- -v: Verbose. The command says: Output everything you copy. So you can see what your computer is doing
- "*": Placeholder for all files
- /home/pi/RetroPie/roms/snes: Target directory of the copy process
After that, simply restart the SNESPi quickly.
sudo rebootAfter the reboot, Retropie/Emulation Station recognises all your games and you can start your game by pressing the red button on your controller.
Snatch that, Koopa Troopa!
Of course I want to try out my little project. With a classic: Super Mario World. I still remember the first level I ever played. It's Yoshi's Island 2 and I ask myself: do I still have it? Or am I about to make a complete fool of myself?
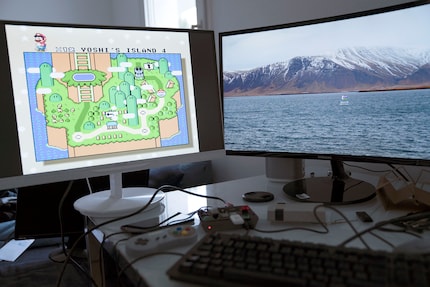
The first successes after a few minutes
I start running. The controller in my hand feels smaller than it did back then. I remember what it was like back in 1992 when I played the level for the first time. The shock when I found out that if I hit the first red tank on the Koopa Troopas and run along, I'd get an extra life. I still remember the Football Chuck, which is actually called Chargin' Chuck. He made quite an impression on me back then. Because I had to jump on him three times before he was willing to die.
I'm still a bit clumsy, but the movements are coming back quickly. I feel like I'm back in the days of my first console. I can't resist singing along to the soundtrack. Can I sing? No, but I don't care right now.
And you can enjoy the world's worst Let's Play video with me. Because of course I wanted to know if I could actually play something. For testing purposes. To see if the system works. Of course. For hours on end. That's for sure.
So, that's it. Have fun with your new game console.
Apropos: Did you know that a Super Nintendo game was between 0.25 and 6 megabytes in size? That's quite a lot of games to fit on my SNESPi.
Journalist. Author. Hacker. A storyteller searching for boundaries, secrets and taboos – putting the world to paper. Not because I can but because I can’t not.
Interesting facts about products, behind-the-scenes looks at manufacturers and deep-dives on interesting people.
Show all