
Guide
The sleeper PC project: one ugly duckling
by Kevin Hofer

What is common practice among PC cases today used to be a rarity: fan filters and a good airflow. I don't want Sleepy to suffocate, which is why I'm throwing together a fan filter as well as a removable panel for the old floppy and DVD drives.
Sleepy is the Sleeper PC I'm assembling and then raffling. I've made all modifications to the case and the water cooling is also ready. Now it's time for the final touches before I begin the last glorious assembly process.
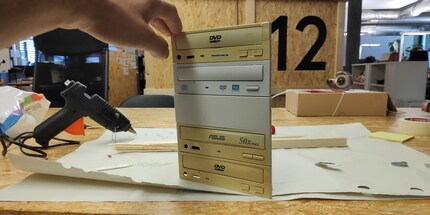
Old cases such as Sleepy's aren't designed for airflow. So I have to figure out how to get him enough fresh, cool air. The front is closed off except for the drive covers. But I want to leave them where they always were: after all, Sleepy is supposed to look as retro as possible from the outside. Time to think about a way to quickly install and uninstall these parts.
I toss back and forth without finding a handy solution. What about a mechanism that I can 3D print? No, that's far too expensive and would permanently scar Sleepy. I need some help. Finally, Galaxus co-worker and DIY goddess Carolin Teufelberger reveals the way forward: magnets.
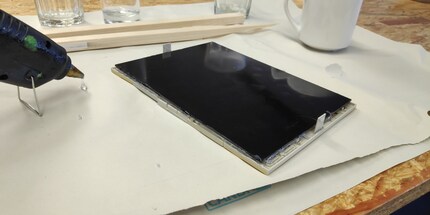
I don't need anything else. My plan: I connect the backs of all panels together with acrylic glass. I can cut it more or less to the size of all panels then apply it to the back of the panels with hot glue. Thus a single block is created from several individual parts. I place magnets in the middle section above and below this block. To balance the structure out, I also attach magnets to the front.
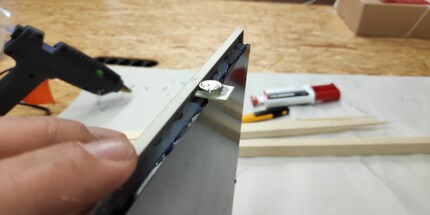
The differently charged magnets thus hold the panel in place. If I press on the left or right side of the screen, it turns and I can pull it out. Sleepy's fans can draw in as much air as possible.
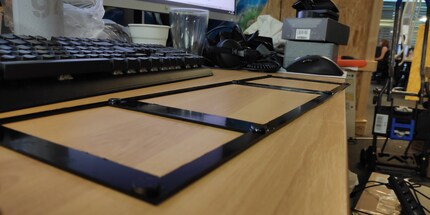
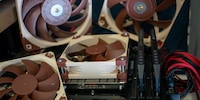
PCs are allergic to dust. The three fans at the front will attract a lot of it. That's why I'm going to make another dust filter for the front. For this, I use acrylic glass again. I cut recesses for the fans into it with the Dremel. I fix the mount with magnets. It can thus be removed quickly if necessary. I lay close-meshed ladies' stockings over the construct. They hold back a lot of dust and, if necessary, a new stocking can simply be put on.
Now Sleepy is finally ready for his new components. I screw on the lid and the front again. Next time I'll install the components, set up Windows and run benchmarks.
From big data to big brother, Cyborgs to Sci-Fi. All aspects of technology and society fascinate me.
Interesting facts about products, behind-the-scenes looks at manufacturers and deep-dives on interesting people.
Show all
Background information
by Kevin Hofer
Background information
by Kevin Hofer
Background information
by Kevin Hofer