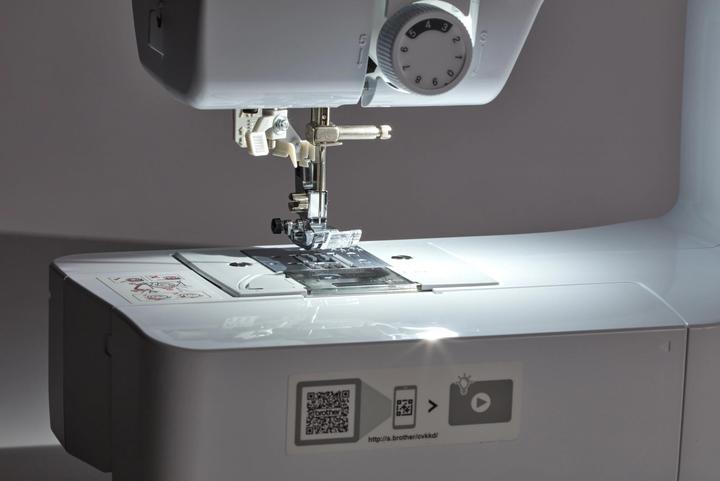
Brother CS10s

Brother CS10s
Yes you can -> then an excerpt from the user manual . Blind stitches Finish the bottom edges of skirts and trousers trousers with a blind stitch. ............ 4 Fold the fabric back inwards along the basting seam. inwards along the basting seam. 1 Back of fabric 2 Fabric front 3 Bottom edge of fabric 4 Desired length for hemming hemming 5 5 mm (3/16 inch) 6 Staple 7 Stitching point <Thick fabric> <Normal fabric> <Side view> 5 Fold the seam apart and place the fabric fabric with the wrong side facing up. 1 Back of fabric 2 Front side of the fabric 3 Fabric edge 4 Desired hem edge 5 Stitching point 6 Staple <Thick fabric> <Normal fabric> Insert the blind stitch foot "R". 7 Select a stitch. * The stitches may differ depending on the machine model. may differ. Check the stitch selection on the machine body and then select the stitch number. stitch number. 8 For the free arm function, remove the accessory tray for the free arm function. 9 Select the desired piece to sew for sewing, make sure make sure that the fabric transported correctly and start sewing. start sewing. 10 Position the fabric with the edge of the folded hem edge of the folded hem on the presser foot guide and then slowly lower the presser foot lever. Hem fold Back of fabric Sewing foot guide 11 Adjust the stitch width so that the needle just covers the edge of the pleat. (page 15) Needle entry point When changing the needle entry point, raise the needle the needle and change the stitch width. * To make a fine adjustment of the needle entry point adjust the stitch width setting. <Thick fabric> <Normal fabric> Note - Blind stitches cannot be sewn if the left needle entry point does not catch the pleat. catches the pleat. If the needle catches the pleat too strongly the fabric cannot be unfolded and a very large and and a very large and unsightly seam appears on the seam will appear on the front of the fabric. 12 Sew with the hem edge on the presser foot guide. 13 Finish sewing when you have finished and adjust the needle move the needle and presser foot upwards and then pull the fabric under the presser foot towards the towards the back of the machine. Note - After sewing, make sure to pull the fabric towards the towards the back of the machine after sewing. If you pull the fabric to the side or forwards the presser foot may be damaged. 14 Remove the basting seam and turn the front of the fabric outwards. the front of the fabric outwards. Back of fabric Front of fabric
I have just looked in the instruction manual, unfortunately without reading anything about a 1-step automatic buttonhole. It sounds very much like step-by-step instructions for sewing a buttonhole.
Have not tried on jeans so can’t answer. Overall the machine is excellent
Hello I don't know if you mean the bobbin for the lower thread or the upper thread. The bobbins for the bobbin thread are quite normal. You can use almost all of them for the upper thread. The machine comes with two bobbins for the bobbin thread.