
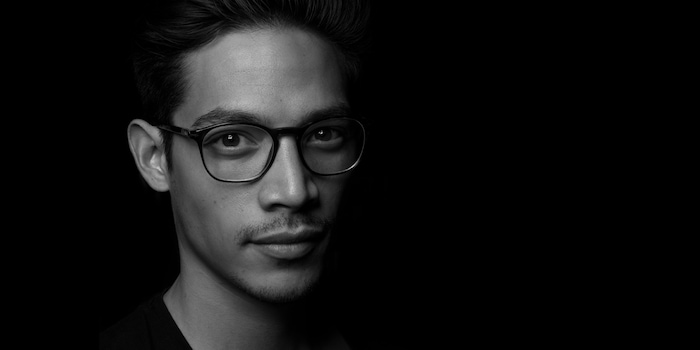
My tips + tricks for studio photography
Especially in this unpredictable weather, studio photography is perfect. Whether you've photographed in the studio before or don't know your way around - I've got plenty of tips and tricks for you.
Keep it simple
It doesn't actually take much to get beautiful pictures in the studio. Flash, transmitter, softbox or light shaper and a suitable background. You're ready to go. Don't know what I'm talking about? Don't worry, you'll know after reading this article.
Less light is more
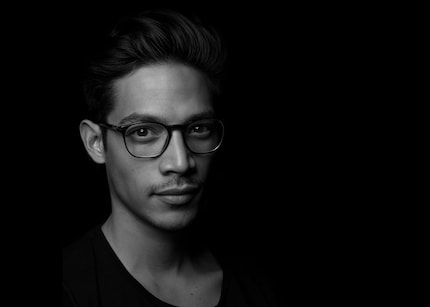
You can do a lot with just one light. You don't need 17 flashes to take expressive portraits. You just need to know how and where to position the light source. The cover picture was shot with just a single flash. The light shaper was the Walimex Beautydish (with bonnet), attached to the Elinchrome One with 100 watts. It was triggered with the Elinchrom Skyport transmitter. [[product:4437187,2477859,439017]]
The Broncolor studio flashes developed in Switzerland are also great. [[productlist:3533671,3839652]]
Not all at once
Many people try to take very different shots at the beginning of a shoot. On the floor, behind the sofa, upside down... Planning is key! Of course people want different pictures. But you have to be careful because you have to reposition and recalibrate the lights every time. That means pure stress for you at the beginning! Limit yourself to one or two scenes/locations/settings. It's better to invest more time in one setting and get the maximum out of it than to try out too many different things and end up with mediocre results. Of course you want to do everything at once, but I advise you not to. It will be worth it for you and the model. Tip: If you prepare and practise the light values, settings and positions with the model beforehand, everything will go much faster. The better and more precisely you are prepared, the more settings and poses you can try out. Logically, practice makes perfect here too.
Models that aren't models
Not everyone knows models. Quite simply: brother, sister, mum, uncle, friends ... Perfect for beginners! The atmosphere is more relaxed and you already know the person. If you don't have much experience of giving instructions, you can simply observe at the beginning. As soon as you know how the person moves or poses, you can start directing. Do you have a specific idea in mind? Definitely show it! Sure, you're making a fool of yourself, but this can also relieve tension. Use a mirror for portraits: Sit in front of a mirror with the model and show what you mean. This allows the model to see how she/he looks at the same time.
Details
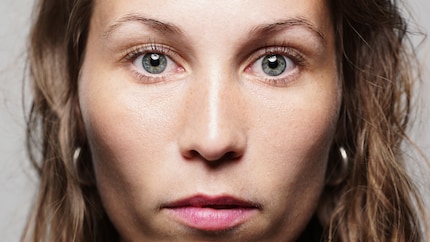
Pay attention to all the little details: hair on the face, smudged make-up, eyelashes on the skin and... Double chin!!! You don't want your model to be associated with Jabba the Hutt. Here's a little tip from headshot master Peter Hurley The Jawline: Move your face (forehead) very slightly towards the camera. Right... quickly run to the mirror and see how the double chin disappears. If you want a model with a slightly open mouth, don't tell her/him to "open mouth slightly". Try "breathing through the mouth". It looks more natural and the mouth is not tense.
Soft movements and facial expressions
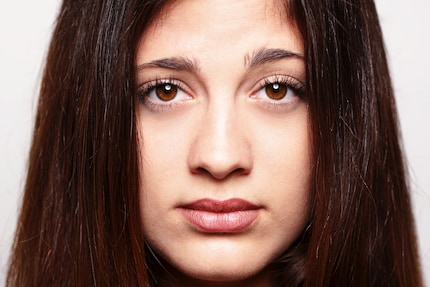
Concentrate on facial expressions when taking headshots. Follow the tip with the mirror. Just a slight turn of the head to one side and a glance at the camera can change everything. Squinting your eyes very slightly and a slight tilt works wonders. Peter Hurley (yes, I know, him again) calls it The Squinch. Try it yourself in front of the mirror and make only very small changes to your posture and facial expressions. Come on, I'm waiting ...
The perspective
If you have a little more space, why not put together a small set? Put an armchair in the corner. Place a small table next to it and use curtains to simulate daylight or night light. One main light and a second with a softbox behind the curtain. Now you don't care whether it's raining outside or the sun is shining. If it's raining, I would shoot portraits at the window so that you can capture the cloudy weather and the raindrops. Gives a cool effect.
Your distance to the subject
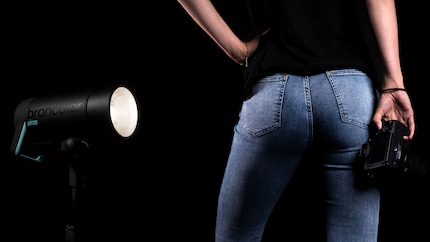
A softbox, octabox or beauty dish won't do you any good if it's too far away. You need more power and the shadows will be even harder. Studio flashes practically always have a lamp (modelling light). Experiment with it and pay attention to how the distance from the flash to the subject affects the light and shadows. [[productlist:438486,5676596]]
The distance to the background
Space plays an important role. Nevertheless, you can take good pictures in a smaller room. Fortunately, there is something for every size and budget. White fabric or curtains can be used as a background. If you prefer a darker colour, you can make the background completely black if you have enough space. Place the model as far away from the wall as possible and nothing reflective or white in the background. The light fall-off from the flash will take care of the rest. Always set the camera so that the background is black first. Once this is the case, the flash can be set. The same applies here: the light should be very close to the model (logically, it should no longer be visible in the picture) and nothing in the surroundings should be exposed.
The best background
In my opinion, the ideal background for your home is grey! Why? Grey can be exposed to white with a little more light. Ok, you still need +/-2 flashes for that. (But still no 17.) With less light and a little distance, the background becomes black. But grey also has its charm and with colour foils, a grey background can quickly be accentuated with red, green or a mixture of blue and red.
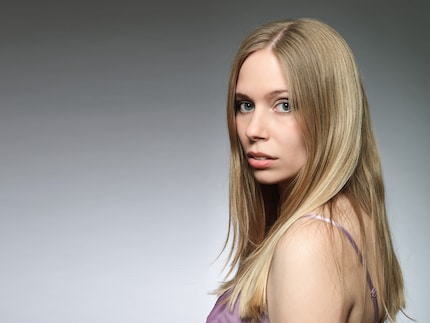
Grey fabric background, without background system [[productlist:4674139]]
Background system [[productlist:375415]]
Background kit for paper backgrounds [[productlist:4678918]]
Inexpensive colour foils - how to colour your background [[productlist:5816983]]
Reflectors
What do reflectors do? Well, reflect, Mr Obvious! Silver for more pizzazz and contrast, white for softer light and gold for more warmth. Perfect for brightening up shadows without using another flash. (Also suitable for daylight, of course, but that's not the topic here). We all have dark circles. If not, kudos! These and wrinkles can be minimised with a reflector and you will look fresher. Not a wind machine, but a helper? Have your helper swing the reflector up and down a little to create wind. Okay, a fan works too, but dry eyes are inevitable on a long shoot. Not just for DIY freaks: polystyrene boards from the DIY store. I also have them at home. Large white plates that you can place on the side to reflect the flash light. You can also cover the plates with aluminium foil.

What I want to buy: The curved reflector. It completely illuminates the face, brightens the neck (bye bye double chin) and you can see the special, curved reflection in the eyes. That's what makes the reflector so interesting. I'd say the picture speaks for itself!
Bonus tip
Youtube! Search for the bigger image makers, you won't be disappointed. They have lots of tutorials on using studio flashes and light shapers. Here are my highlights: Broncolor / Elinchrom / Profoto / Bowens / Westcott / Lastolite Get inspired, steal the idea and adapt it to your style and taste.
Do you have any other tips? Post them in the comments or ask questions, I'll be happy to answer!
More
At school I developed photos analogue and bought my first SLR when I was 20 years old. From MFT to medium format, I already had many cameras to choose from. I was able to cure my G.A.S. (Gear Acquisition Syndrome) and now I help everyone to find the perfect camera.
From the latest iPhone to the return of 80s fashion. The editorial team will help you make sense of it all.
Show all