
Guide
My own NAS system: installing Unraid on a USB stick is a pain in the neck
by Richard Müller

My Unraid server has been installed. However, before any Docker containers or apps can be used, my NAS needs some structure. In this article, I’ll explain how I split the cache pools, got the array up and running and neatly organised data storage. I’ll also break down why you need to be strategic when doing these things.
In my previous blog, I wrote about installing the Unraid operating system on a USB stick, which is permanently slotted into my NAS.
Now, it’s time to do some fine-tuning. After all, TomBombadil, as my Unraid server’s called, will be serving as a research lab in future. In this article, you’ll find out what considerations played a part in this. If it’s a step-by-step guide you’re looking for, this isn’t it. There are already more than enough of those on YouTube.
When I log in for the first time, I end up on the Unraid user interface. True to a habit I’ve created to avoid running into issues later, I update the operating system to the latest version and set the correct time zone first.
I stop for a moment before creating the shares. After all, the data structure won’t just determine the system’s clarity – it’ll determine its performance and reliability too. My decision will impact redundancy as well as my ability to maintain the server in the long term.
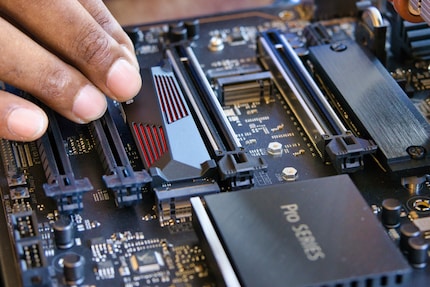
I install a total of four SSDs: two with two terabytes (TB) each and two with 500 gigabytes (GB) each. At first, I’m tempted to throw them all into a single cache pool. However, with SSDs of different sizes, you quickly give away unnecessary capacity with RAID 1 (hard disk network with failover). In the worst-case scenario, you lose more than half the space.
This is because RAID 1 always mirrors data in pairs between two drives. It only uses the capacity available to both SSDs involved. If one of the drives is smaller, the excess storage space on the larger SSD is ignored.
With this in mind, I opt for two separate pools with SSDs of the same size, each in BTRFS RAID 1. I use the B-Tree File System (BTRFS) because it’s the best option for redundant SSD pools in Unraid, with error detection and flexible management:
File systems such as ZFS and BTRFS regulate how data is stored, organised and backed up on a drive. They take on a similar role to FAT32 or NTFS under Windows. However, they also boast functions such as checksums, snapshots and native RAID support, which are particularly relevant for servers and NAS systems.
I deliberately decided against ZFS (originally named Zettabyte File System), even though it gets a lot of the technical stuff right. I also ruled out going for ext4 (fourth extended file system) because it doesn’t offer additional functions. When it comes to cache pools, I want to stay flexible. A ZFS pool isn’t that easy to expand. For example, if you set it up as a mirror (RAID 1), you can’t simply add a single SSD later.
Instead, you’d have to install two SSDs of the same size again. With RAID-Z, a version of RAID that exists exclusively for ZFS, things are even more rigid; the original structure can’t be changed. You can only make more memory available if you install several new hard disks at the same time.
ZFS is also bulky when you’re using SSDs of different sizes. It only uses as much memory as the smallest hard disk can accommodate. The rest is left unused. Especially where cache pools are concerned, this is wasted potential.
With BTRFS, you have much more breathing room, as you can replace or add SSDs more easily – even with different capacity sizes. The major plus? Redundancy is retained and you still have a good overview. Unraid comes with BTRFS natively, so there’s no plugin and no additional effort. It’s exactly the right choice for my setup, which is supposed to evolve over time.
This clear separation creates structure and order, but also security. Plus, it prevents bottlenecks with simultaneous access. What’s more, I’ll easily be able to integrate additional shares into the existing structure if need be.
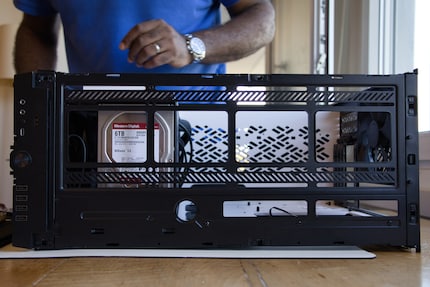
I divide my six 6 TB hard disks in the classic way, with two hard disks as parity (redundant data drive) and four as data drives. This gives me a net storage capacity of 24 TB. I’m also protected against the failure of up to two disks. All four data disks run with the eXtent file system (XFS), the Unraid standard. This file system is stable, proven and particularly efficient for large files such as media or backups.
Unraid follows its own concept: unlike with RAID or Just a Bunch of Disks (JBOD), each data disk remains individually readable. The whole thing is secured by a parity procedure, which provides protection in the event that up to two drives fail. You can also store backups on an external hard disk.
Right from the start, I’m keen to know where things are. More importantly, I want to know why things are where they are. With this in mind, my most important directories have clear rules:
Cache modes can be set individually for each share. In the case of every share, Unraid allows you to decide whether a cache is used and how. There are four available options:
As a result, temporary data ends up on the SSDs first before automatically being moved to the array later. Container or VM data, on the other hand, stays in the cache pools. They get the performance they need there.
The working memory provides an additional performance boost: Unraid automatically uses free RAM as a read and write cache (buffer cache) in order to make frequently used data available even faster. This also takes the strain off the SSDs.
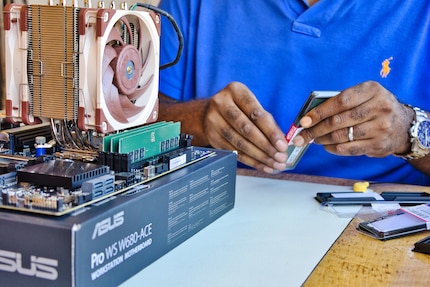
My home-built NAS is kitted out with 128 GB of RAM in total. In the Unraid settings, I’ve specified that a maximum of 75 per cent of available memory can be used for the caches. That’s a maximum of 96 GB of RAM. This is done via the vm.dirty_ratio setting, which I adjusted in the console as follows:
sysctl -w vm.dirty_ratio=75This leaves enough buffer for Docker, VMs and other processes. At the same time, data-intensive services such as Paperless NGX or Nextcloud noticeably benefit from shorter access times.
If this RAM cache weren’t used, all read and write accesses would have to be handled directly via the SSDs. Although that’d still be fast enough, it’d be less efficient in the long term and could potentially cause the SSDs to wear down more.
Unraid automatically releases the memory again as soon as it’s actively required by other processes. Basically, the cache only uses working memory that isn’t currently being used for other purposes. Here’s a YouTube video that explains buffer cache configuration (click the gear icon for English subtitles).
Once I’ve defined the data structure and set up the cache pools, I assign the drives in the Unraid web interface: two parity disks, four data disks and the SSDs to the respective cache pools. Unraid then displays a green bullet point to let me know the status is OK.
When I click Start, Unraid initialises the array, checks the assignments and prepares the file system. At first glance, not much happens. The status changes and a formatting option appears.
I choose XFS as the file system for all data drives and BTRFS for the cache pools. Then, I confirm the data carrier formatting. After that, it’s a waiting game.
The calculation takes time, especially when two parity disks are set up. Depending on the size of the hard disk, this can take several hours or even days. The system’s fully operational during this time, albeit with limited performance. I let the process run overnight.
Here’s a tip: if you’re curious, you can monitor the progress in real time in the web interface. Unraid very transparently shows you what’s happening, including the speed and estimated time remaining.
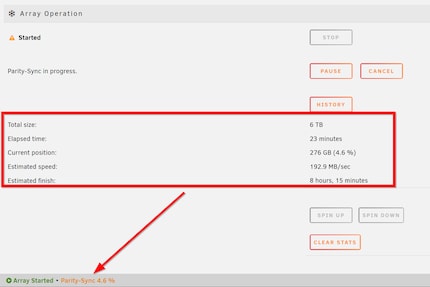
The next morning, the big moment arrives. The array’s ready and my NAS is officially up and running.
With its two SSD pools, a stable array and a carefully chosen data structure, my DIY NAS doesn’t just offer performance – it also has a clear plan.
After successfully launching the array and cache pools, I took one easily overlooked (but urgent) step: creating an initial backup of the USB stick.
Famously, Unraid saves all key configurations on a USB stick, which also contains the operating system. If it fails, the system isn’t lost, but the recovery process is nerve-wracking. But is it time-consuming? Not really. Thanks to a backup, the configuration can be quickly copied to a new USB stick.
I saved my backup onto my Synology. If need be, I can also download my key file from my Unraid user account. You can also do a complete backup with a special plugin. I’ll tell you what it’s called in my next article.
So now, my DIY server isn’t just functional – it’s also ready for expansion. Docker, VMS, community apps and plugins are already waiting in the wings. That’s what I’ll be tackling in the next instalment of this series.
I'm a journalist with over 20 years of experience in various positions, mostly in online journalism. The tool I rely on for my work? A laptop – preferably connected to the Internet. In fact, I also enjoy taking apart laptops and PCs, repairing and refitting them. Why? Because it's fun!
Interesting facts about products, behind-the-scenes looks at manufacturers and deep-dives on interesting people.
Show all
Background information
by Richard Müller

Background information
by Richard Müller

Background information
by Richard Müller