
Background information
How to digitise documents using your smartphone
by David Lee
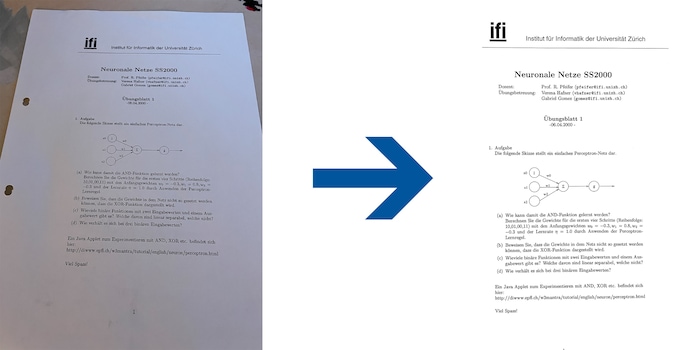
Paper often looks bad in photos. But that’s easily fixed.
Digitising a document’s easy: get out your phone, point the camera and voilà. Unfortunately, the results often look awful. Many people think all that matters is that it’s legible. But a clean photo makes a better impression – and it takes minimal effort.
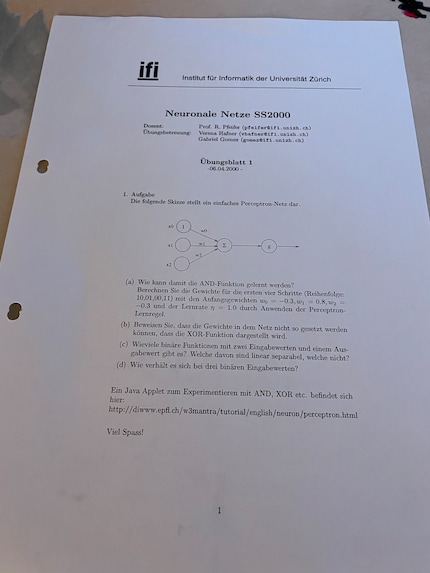
This is a typical example. There are several things wrong here:
Generally speaking, the more you do right when taking a photo, the less you’ll have to correct later. The most important thing’s to take the photo from directly above, since blurry text can’t be fixed after the fact.
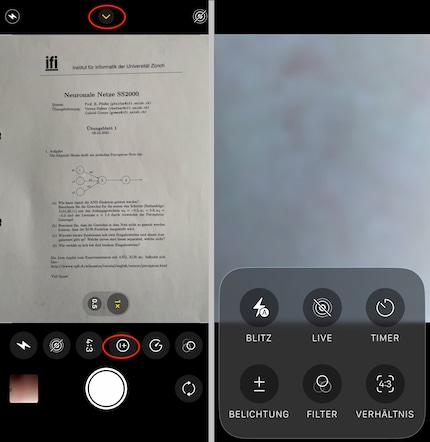
Also, make sure the image is bright enough by adjusting the exposure as needed. The symbol for this is usually a plus/minus symbol or a sun.
On an iPhone, tap «Photo», then «Exposure». On systems older than iOS 26, tap the small drop-down icon at the top centre of your screen – this’ll bring up the exposure adjustment icon at the bottom. Alternatively, you can tap an area of the image and then swipe up. However, this can result in overexposure.
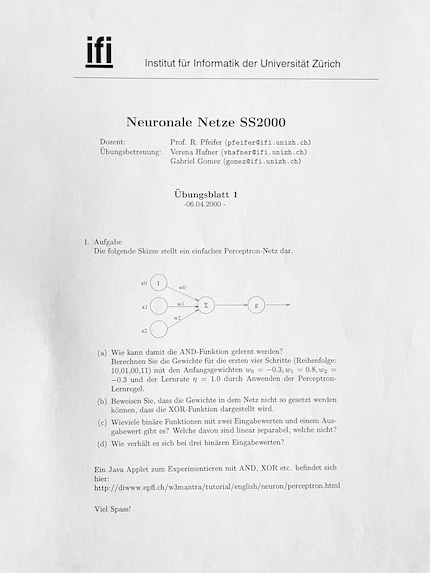
All that’s left to do now is cropping. In this example, it’s easy because the document has a very wide margin: just move your phone a bit closer. This’ll also eliminate the unsightly gaps. However, it’s harder to hold the camera straight when you can’t see the edges on the screen. That’s why I often crop the edges afterwards.
This is my optimised photo – for most purposes, there’s no editing required.
More photography tips:
Even bad photos can be corrected in just a few steps. I’ll use the iPhone as an example again, but the principle also applies to Android devices.
Open the image in the Photos app and tap the slider icon at the bottom, then tap «Crop». Icons to rotate and change the perspective will appear, which allow you to straighten any crooked photos. Finally, crop the image by dragging from the edges towards the centre.
Now, correct the exposure by switching from «Crop» to «Adjust». Again, the adjustment tool’s indicated by a plus-minus symbol. In my example, I’m turning the exposure all the way up, which also eliminates the colour cast. However, this doesn’t always work as well. If the text isn’t completely black, adjusting the exposure will lighten it too. In this case, you’re better off increasing the contrast and brightness (the sun symbol further to the right) instead. If it’s a black and white document, you can set the saturation to zero to eliminate colour casts.
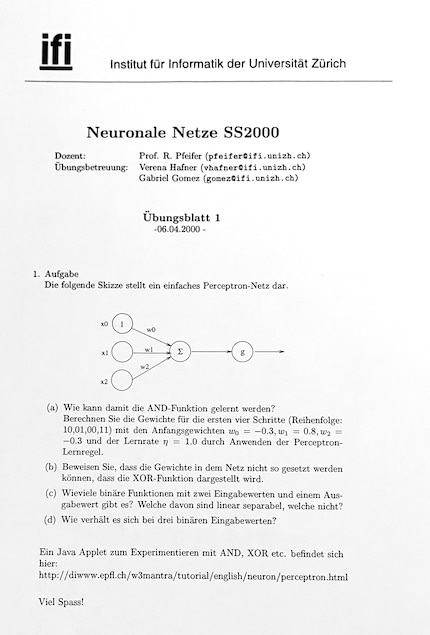
A nice side effect: the clear separation into black and white makes the file significantly smaller – practical for sending via e-mail.
Edit: I’ve left out plenty of things from this article, including that most phones have a built-in «Scan» feature. There’s a whole other article to come on that.
My interest in IT and writing landed me in tech journalism early on (2000). I want to know how we can use technology without being used. Outside of the office, I’m a keen musician who makes up for lacking talent with excessive enthusiasm.
Interesting facts about products, behind-the-scenes looks at manufacturers and deep-dives on interesting people.
Show all