How to easily install an SSD and drive in your PS5 Pro
If two terabytes of built-in storage aren’t enough for you, you can easily upgrade the PS5 Pro. And installing the Blu-Ray drive is fast. Here’s how.
Like the PS5 launch model and the PS5 Slim, the PS5 Pro has an additional M.2 SSD slot. This allows you to expand your storage by up to eight terabytes. What’s missing, however, is a Blu-Ray drive. You have to buy that separately. You can install both in a few minutes and – as with the normal PS5 (article in German) – you don’t have to be an expert.
What you need for the SSD
If you already have a PS5 with an additional SSD, you can use it with the PS5 Pro without any preparation. All installed games will be retained and available to you immediately after installation. If you’ve already installed the same games on the PS5 Pro, the system will ask you when you start up whether you want to delete duplicate games on the SSD.
If you don’t have a suitable SSD yet, the requirements are as follows:
| Port | M.2 NVMe |
|---|---|
| Form factor | 2230, 2242, 2260, 2280, 22110 |
| Storage space | 250 GB to 8 Terabyte |
| Size, cooling tech included | Width: up to 25 mm
Length: 30/40/60/80/110 mm Height: up to 11.25 mm |
The figures above apply to the standard PS5, but should also be accurate for the Pro model. You can find further details on the PlayStation website.
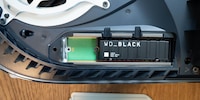
For this guide, I’m using the same WD Black SN850 I had with the PS5. You can find other models here.

Installing the SSD: remove the top cover, insert the SSD, done
All you need for installation is your hands and a small Phillips screwdriver.
First, unplug your PS5 Pro from the power supply. Then lay it on its front so the PlayStation logo isn’t visible. The console consists of four separate side elements. Remove the smaller one above the black ribbed detail when looking at it vertically. To do this, pull it upwards as you’re looking from the front of the console. The plates are plugged in, so it takes a bit of force. But you don’t have to pull really hard.
Once you’ve removed the side panel, you’ll see the SSD cover. Loosen the screw and remove the cover, you’ll see the SSD slot underneath. Depending on the size of your SSD, you may need to reposition the silver spacer for the screw.
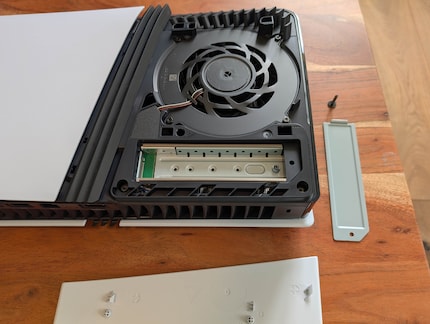
Source: Philipp Rüegg
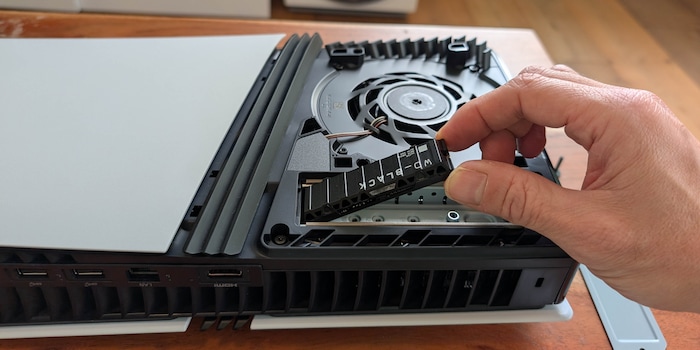
Insert the SSD into the slot until it’s firmly in place – you’ll hear it click. You’ll then be able to see where the spacer needs to go.
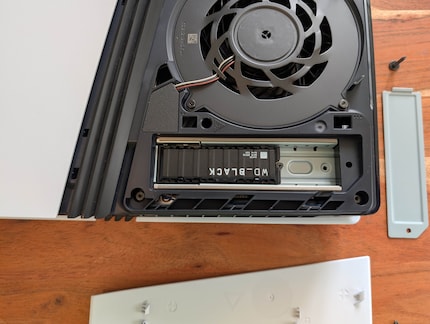
Source: Philipp Rüegg
Screw in the SSD tight, put the cover back on and screw that back on too.
Now you can reattach the white plate. Firstly, hang it on the side where the SSD is. The cover has three white wings that fit into three slots. Then you can fold the cover down and click it into place on the other side. You’ll hear a loud click when it’s properly in place.
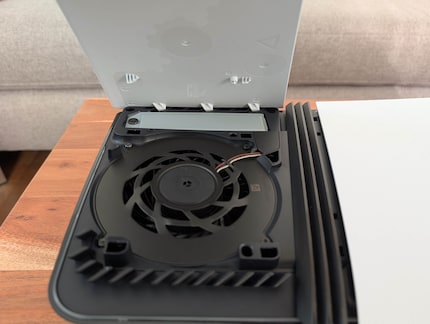
Source: Philipp Rüegg
That’s it. Now you can start up the PS5 Pro and fill the new storage space with games. You also have the option of using the system settings to determine which media should be installed on which hard drive by default.
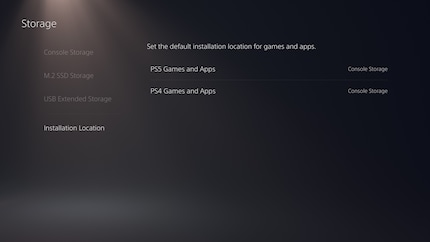
Source: Philipp Rüegg
Installing the drive: remove the bottom cover, insert the drive, done
You don’t need any tools, install the optional Blu-Ray drive on the same side as the SSD slot. This time, however, you’ll remove the larger side panel below the black rib detail when looking at it vertically. You release it by pulling it upwards from the side where the power button is.
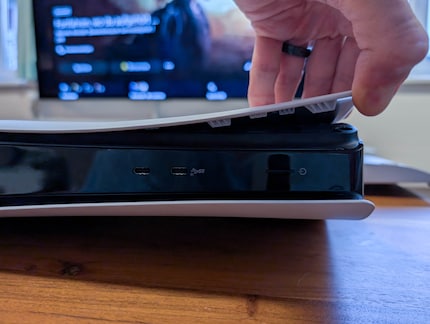
Source: Philipp Rüegg
Then you’ll see the port.
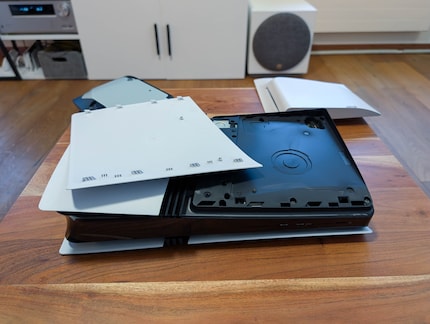
Source: Philipp Rüegg
Hang the drive on the two small wings, then press the plug on the opposite side into the port on the console.
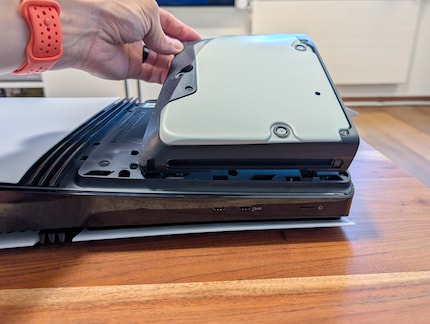
Source: Philipp Rüegg
Then all you have to do is attach the new cover that comes with the drive. Hang it on the two white wings on the side where the drive’s port is. Then, press it down on the other side until it clicks into place.
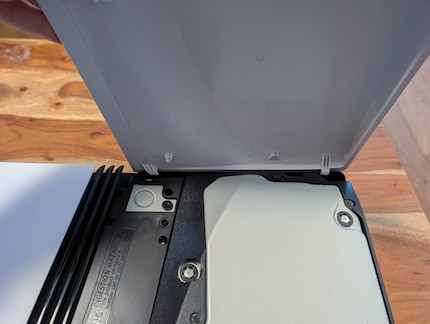
Source: Philipp Rüegg
If you want to set up the console horizontally, you have to insert the two feet provided into the black rib details so the deeper parts point inwards.
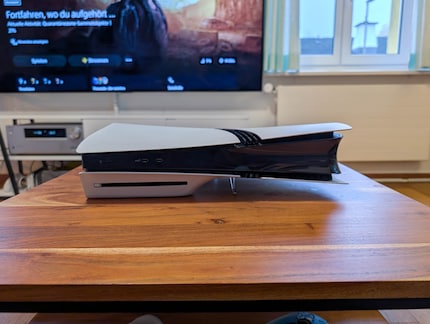
Source: Philipp Rüegg
Now you can turn on the PS5 Pro. The last step is to pair the drive with the console, you need an internet connection for this. After starting it up, the system will automatically ask if you want to do this. All it takes is two clicks, and the drive’s ready for your discs.
As a child, I wasn't allowed to have any consoles. It was only with the arrival of the family's 486 PC that the magical world of gaming opened up to me. Today, I'm overcompensating accordingly. Only a lack of time and money prevents me from trying out every game there is and decorating my shelf with rare retro consoles.
Practical solutions for everyday problems with technology, household hacks and much more.
Show all