Background information
Does the layer height influence the thickness of your PLA prints?
by Kevin Hofer
3D printing a ukulele: is it possible? That's the question I asked myself when I stumbled across a project on Instructables.
I love music. I'd love to be able to play an instrument, but I already failed the recorder at primary school and have lost all desire to learn. That doesn't stop me from constantly tackling new projects that have anything to do with music. A few weeks ago, when I came across the 3D printed ukulele by user Solstie on Instructables, I was immediately thrilled.
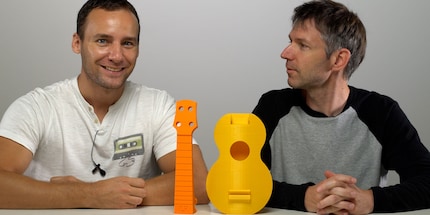
For the project, I need a 3D printer, filaments, mechanics and ukulele strings. Solstie explains exactly how to print to make the ukulele sound good. It can be printed in two, three or four parts. I opt for the two parts because my Creality CR-10S Pro 3D printer is big enough for the model. For the filament, I choose standard PLA for the handle and PLA/PHA filament for the body.
I print the handle as instructed with four wall thicknesses and 50% fill so that it's stable and has a decent weight. To ensure the print doesn't take too long, I chose a layer height of 0.28 millimetres. I also printed the body with four wall thicknesses. Solstie designed the body so that a 0.4 millimetre nozzle prints the walls without any filler. This is great, because gaps in the walls would have taken away the vibrations. However, the body of the ukulele must vibrate in order to produce a strong sound. To ensure that the connection between the neck and the body holds, Solstie has incorporated reinforcements. I print them like the neck with 50% filling. Printing the body takes just over 24 hours. The handle is ready in about 13 hours.

I now have a half-finished ukulele, but no idea how to make one. Luckily, David Lee, my colleague, knows how to play guitar. When I tell him about my project, he's delighted too. He's dying to see if he can play a tune on this thing.
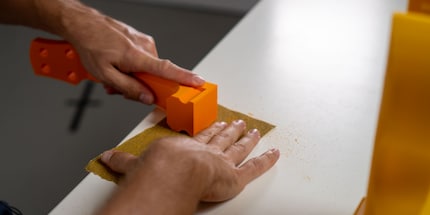
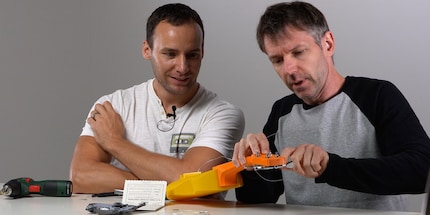
Assembly was no mean feat. I have to sand down the neck so I can fit it into the body. I also had to drill the holes for the strings to go through. After about half an hour, the ukulele is assembled and fitted with the mechanicals.

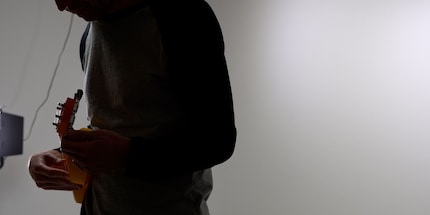
Now David sets about the task of tuning and adjusting the strings. As he's never tuned a ukulele before, this takes him a little longer. After about an hour of full concentration and a 70% greater chance of contracting ear cancer, the ukulele is tuned and David strikes the strings.

I think the ukulele sounds pretty good. Judge for yourself and watch the video above. I'm almost entirely sold on the Solstie model. Only the holes for the strings should be a little bigger. My colleague David is also happy with it. He'd just like to try and eliminate the brittle sound of the vacuum strings.
Printing your ukulele in 3D is really cool. If you have a 3D printer at home and love music, I recommend this project.

From big data to big brother, Cyborgs to Sci-Fi. All aspects of technology and society fascinate me.
Interesting facts about products, behind-the-scenes looks at manufacturers and deep-dives on interesting people.
Show all