Build your own retro console with the Premium Raspberry Pi Gaming Kit
Raspberry Pis are predestined for tinkering. I ordered the new gaming kit and built my own retro console. And this is how it works:
I was delighted when I was able to order the new Raspberry Pi gaming kit. I wanted to build a retro gaming station with a Kodi server in the background. I also have an M3D 3D printer that supports Linux. This means it can be controlled with the Raspberry. So I no longer have to run the PC separately.
The bundle was delivered in a sealed plastic bag with the following contents:
- 2 controllers
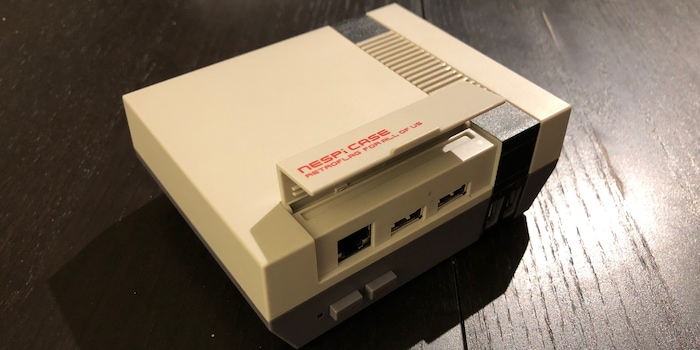
- Retroflag case
- Raspberry Pi screwdriver
- Blank SD card
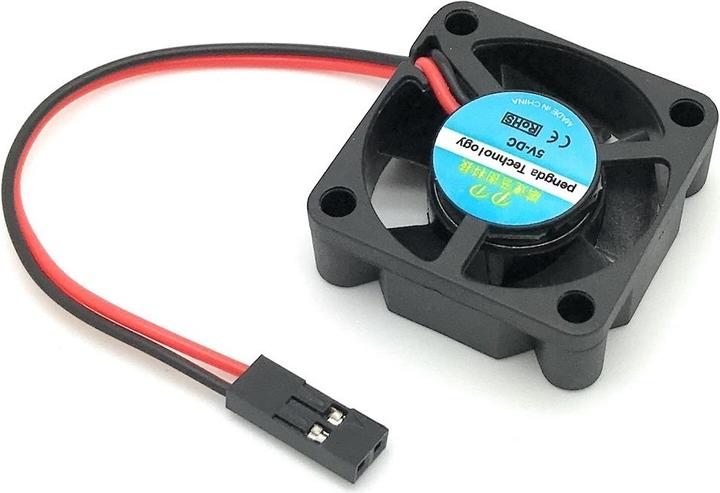
- A fan
- A power supply unit
- HDMI cable
- Cooling fins for the Pi

Assembly and installation
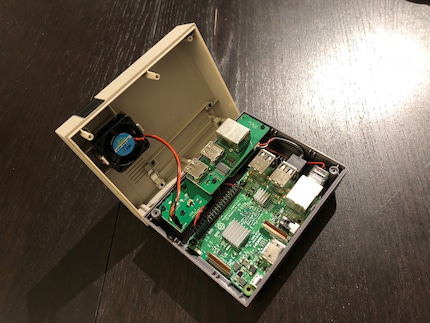
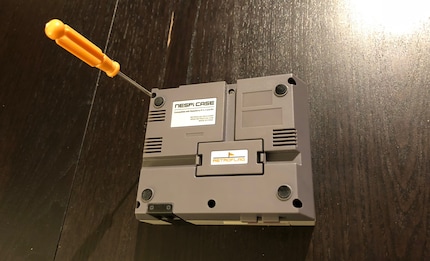
Assembly is quick and easy. All steps are easy to follow and understand. With the fan, however, you have to search for the connection first, as the power connection on the Pi's GPIO is already occupied. The RetroFlag case has an extra connection to which the fan is connected. Then screw the case shut and you're done.
Now I could start formatting the microSD card. You have to connect it to a PC to do this. If you don't have a reader, look here.
An adapter is included with the microSD card if you only have an SD reader. When the card is connected, the RetroPie image must be loaded onto it. I formatted and then burned the RetroPie image with the Win32 Disk Imager:
The RetroPie image can be found here
Once the image has been burned to the microSD card, you can insert the card into the Pi and switch it on for the first time.
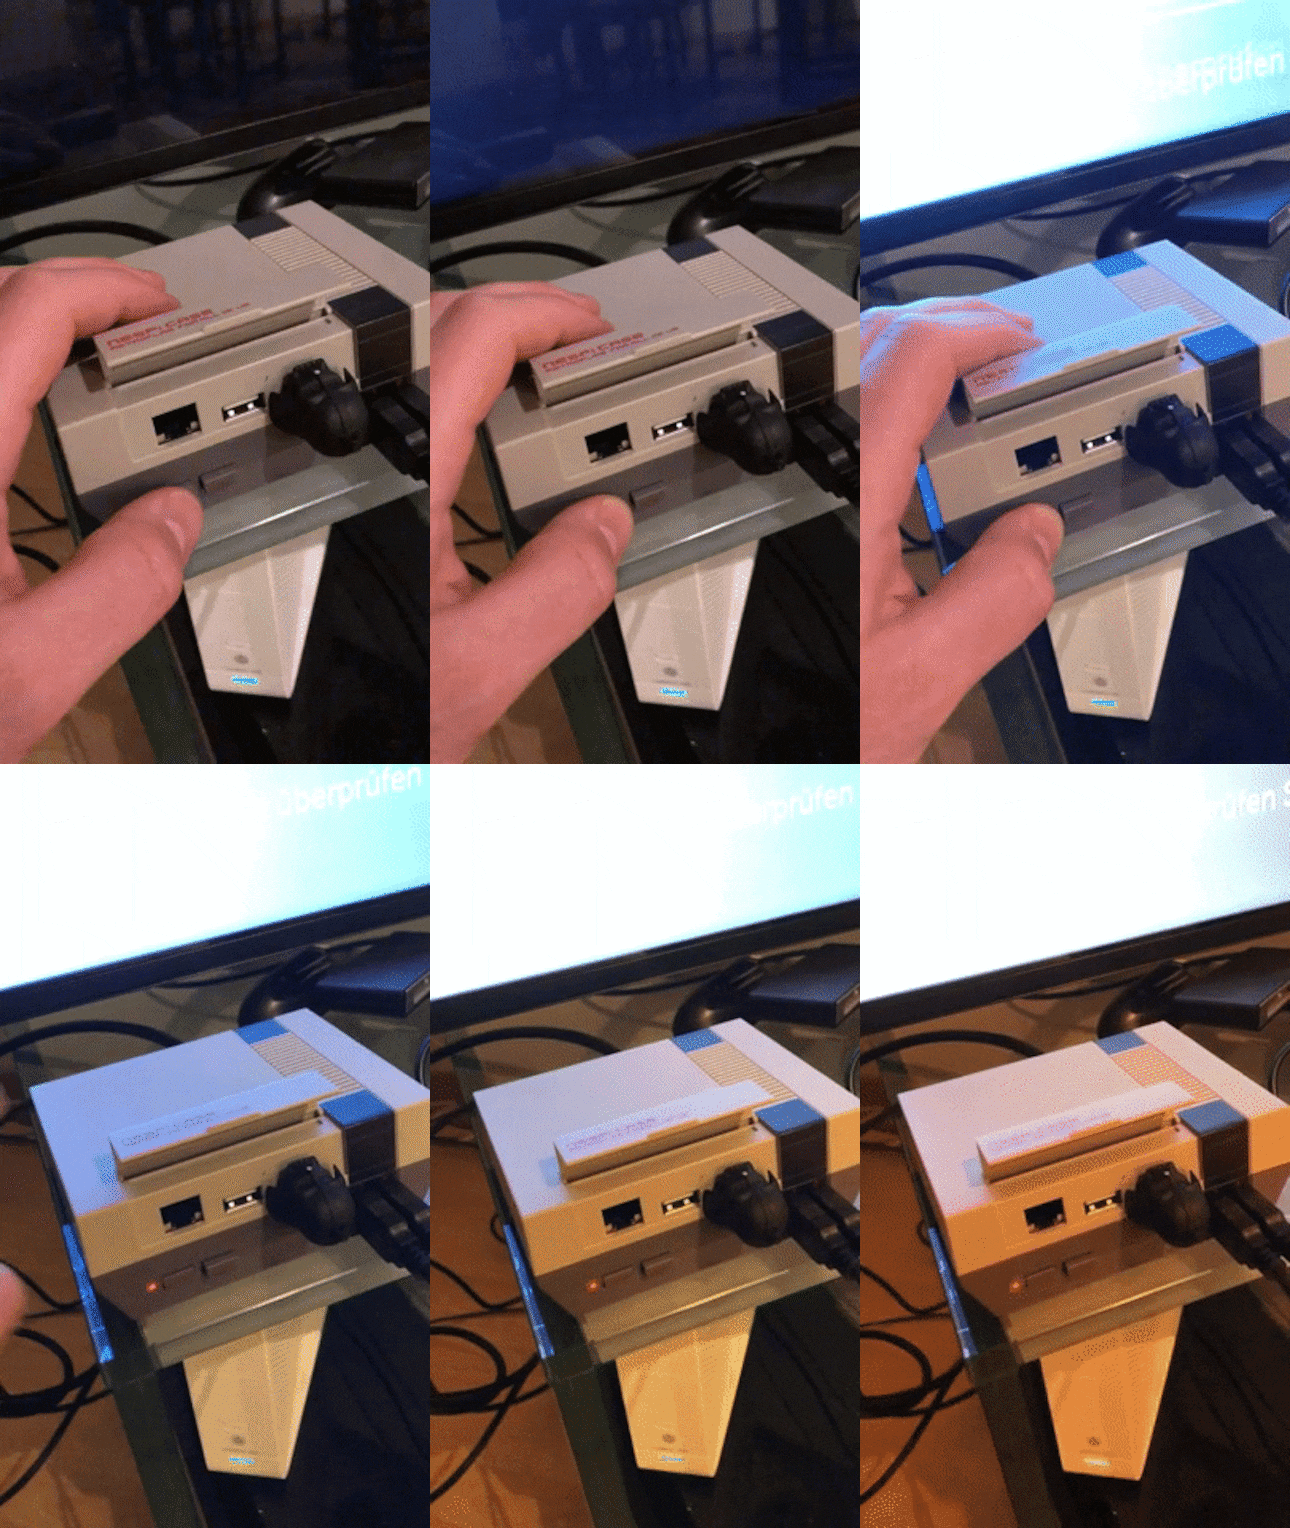
After starting the RetroPie, the first thing I had to do was configure the controller. This is required the first time so that the device knows what the controller in use looks like. More buttons are requested than are available. But that's not a problem. Simply press and hold a button to skip the process. I also used a keyboard, which is recommended for the initial configuration. No games are pre-installed at the start. You have to load them yourself. Next, you need an empty USB stick, which you format to Fat32:
- Insert a USB stick that is smaller than 32GB (Windows cannot format larger sticks by itself)
- Right-click on the stick and click "Format"
- Select FAT32
- Click Start
Once the stick is ready, create a folder with the name RetroPie. Then plug it into the Pi and wait for about a minute. The RetroPie station will automatically create the folder structure. Afterwards, ROMS that you have previously downloaded from relevant sites can be loaded into the corresponding folders.
Note: You may only load ROMS that you actually own as games. After the games have been copied into the folders, the stick can be inserted back into the RetroPie. Then you have to wait until the games are loaded. This can take a while depending on the size. As soon as this is done, the console restarts (press Start if configured and select Restart). But that's it now. Ready to play:
A first test round
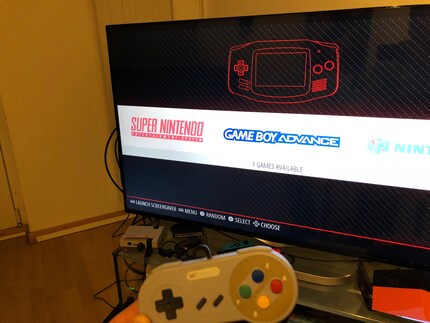
After a few hours of playing, I can say the following: You can tell that the controllers didn't cost much. No comparison to the high-quality 8bitdo controllers. But they fulfil their purpose and can withstand the odd fall. I first tried out "Mario Kart" with my girlfriend. On a large TV so close to it (to get that real retro feeling, you can't sit more than a metre away), it was a real joy to race around with Mario and co.
I also tried out some Gameboy games. It all worked wonderfully. Especially as the controllers supplied are SNES-style and therefore suitable for consoles up to the SNES era (including Sega Mega Drive, Gameboy etc). The case is the highlight. High-quality workmanship, super cool retro design. It's really something. It offers everything you need, including the sexy start and reset buttons.
The fan that is installed is a bit loud. However, in combination with the heat sinks, it keeps the Pi nice and cool and can therefore probably offer a better frame rate. For those who already have a Pi running and would like to install a fan, look here.
In conclusion, I can say that it is a very simple project that is a lot of fun. Really anyone can do it and will have fun with it.
I give it a 100 per cent build recommendation
Bonus tip
For all those who want to go even further and install Kodi and Rasbian, here is another guide.
This tutorial is about how to install a Raspian environment in RetroPie. With this fully functional Linux system, you can operate a 3D printer, as in my case, or install tools such as Kodi to stream music, films etc. from a NAS or hard drive. For these tools, a keyboard is recommended for easier operation.
In a nutshell, I enjoy technology and being where the action is. So what better place for me than digitec?