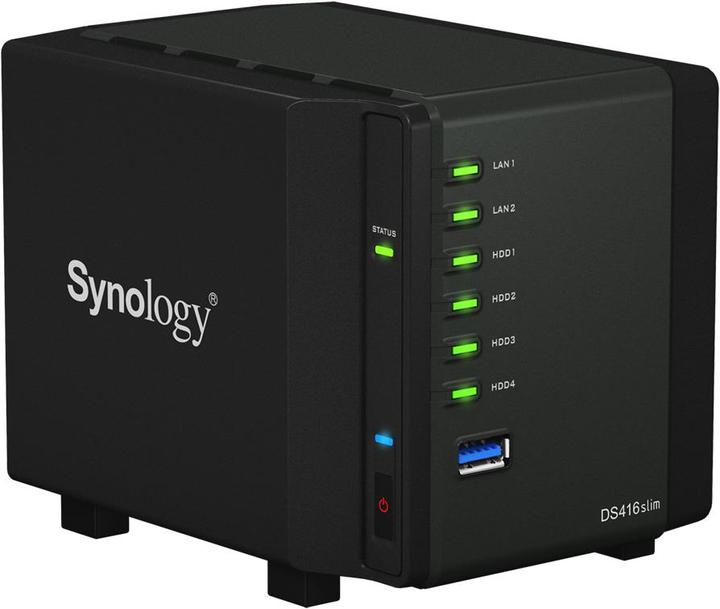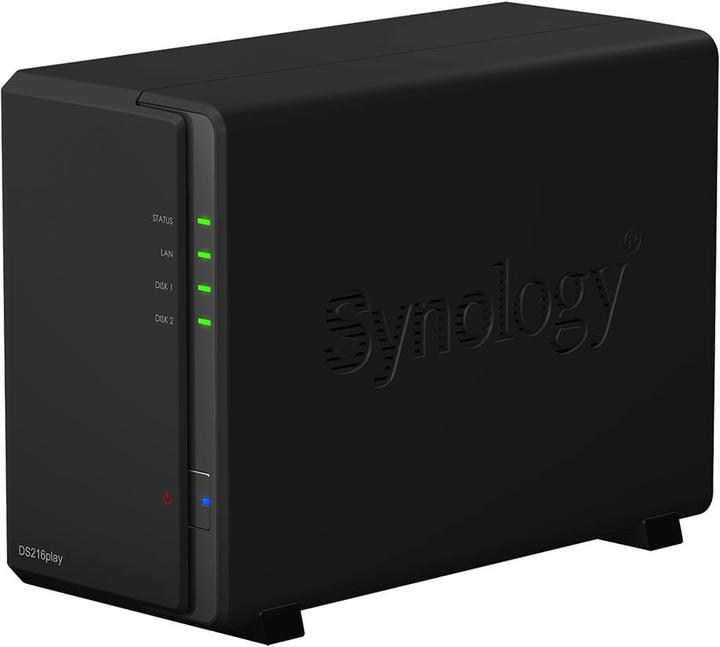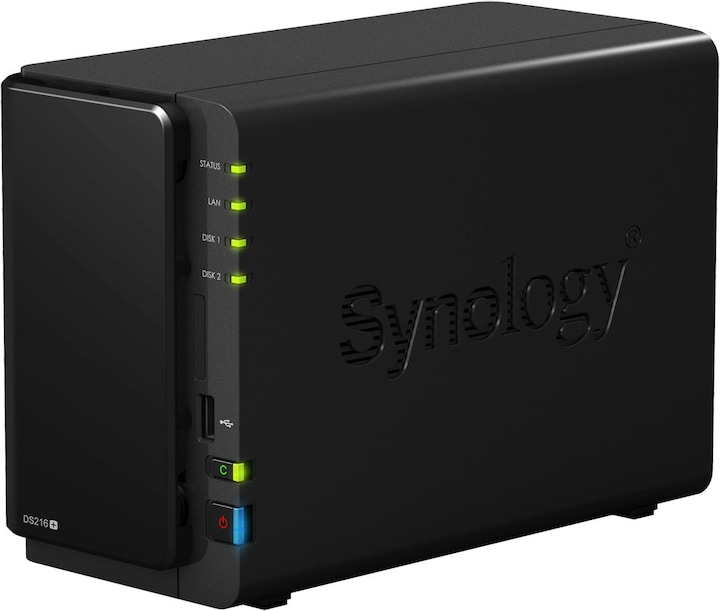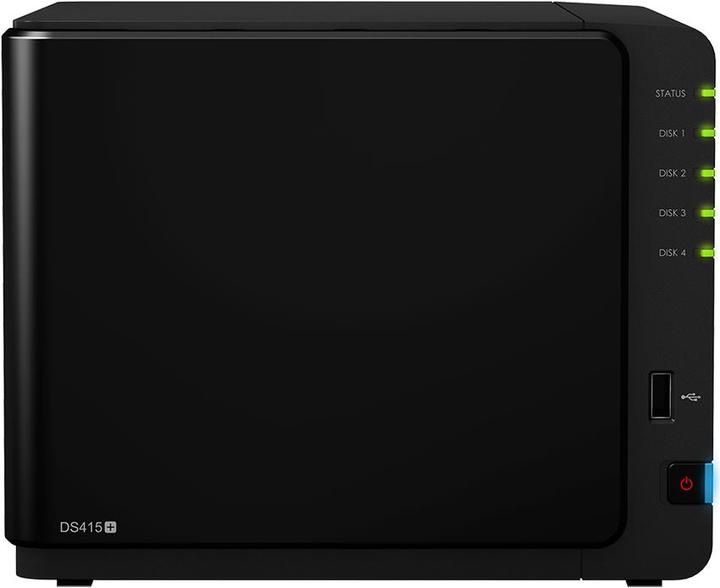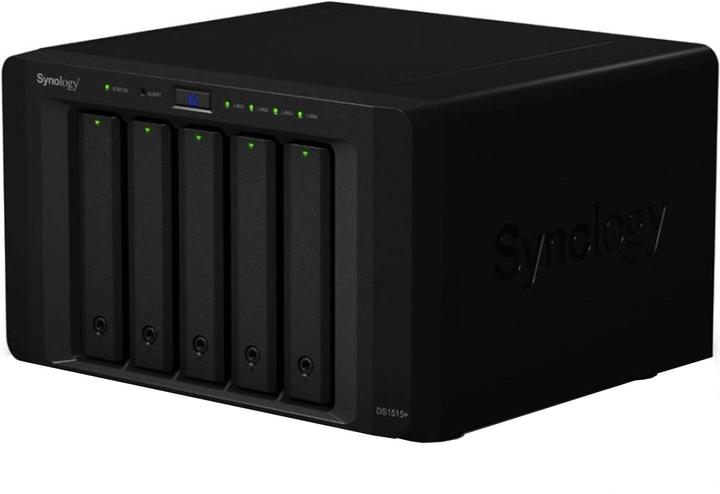
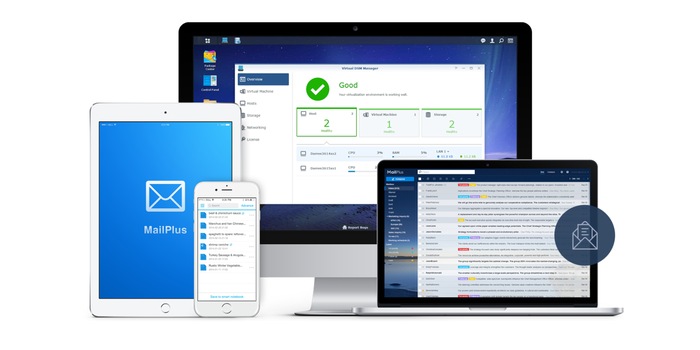
Tips and tricks for Network Attached Storages (NAS) using Synology as an example
Synology has recently released the new Diskstation Manager (DSM) 6.0 for its own NAS systems. Here we introduce you to some of the new functions and give you tips and tricks for your NAS.
The graphical user interface has hardly changed, so users of the last DSM version will have no problems finding their way around and can familiarise themselves with what they are used to. The update brings extensive functional enhancements and also full support for 64-bit systems.
New functions - Mail, SpreadSheet, Cloud, security and much more
Network and security
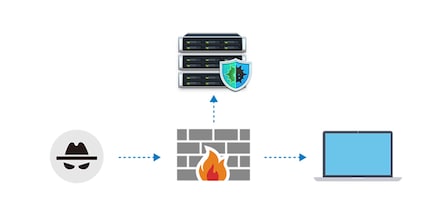
Protect your Synology NAS from cyber attacks! If you have connected your NAS to the Internet, you can also benefit from many application options, such as access from anywhere. However, care should be taken to protect the system from unauthorised access and external attacks. With DSM 6.0, Synology offers new management and security functions such as AES encryption, 2-step authentication, security advisor, intrusion detection system and various other functions.
Cloud Station Suite - synchronisation of all your devices
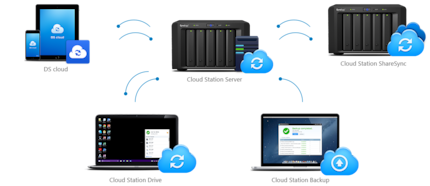
Synology has significantly revised the cloud functionality of the Disk Station Manager in version 6.0 and divided it into several areas. The new Cloud Station 4 now offers a specially developed application for file synchronisation for every platform - whether PC/Mac, smartphone or NAS. With the brand new Cloud Station Backup desktop application, you now even have your own application for backing up your data from your PC/Mac to the NAS.
Tools for collaboration

Also new in DSM 6.0 is the spreadsheet tool "SpreadSheet". Spreadsheets make it much easier to compile and organise data. Several people can work on a spreadsheet at the same time via the browser, and any changes made are displayed in real time and saved in a history. The Note Station has also been supplemented with additional functions such as displaying attachments directly in the Note Station and a desktop application.
Multimedia

The Photo Station comes with new features such as watermarks and CMS approval. The Video Station has also been revised with DSM 6.0. The new black and red design is visually striking. Content can now be sent directly to Google's Chromecast without any detours. There is a new Windows 10 app and a new Apple TV app. If your own NAS supports the real-time transcoding of videos, you can also use the new offline transcoding function.
Which NAS is right for me?
Choose the NAS that's right for you and benefit from reduced prices on a limited quantity of Synology NAS!
All-rounder NAS for photos, videos (possibility to stream films 1:1; without transcoding), music and backups for households with up to 10 people:
NAS for film lovers with the option of streaming 1:1 films or transcoding non-compatible formats:
For those who need more storage or want to get things done faster with a more powerful NAS:
Useful tips and tricks for your Synology NAS
Migration from an existing Synology NAS to a new NAS from DSM 5.0 and higher:
- A "move" is very easy to perform. To be on the safe side, always create a backup first.
- Then prepare the new NAS. Install the DSM software (operating system) using a temporary hard drive. To do this, simply open find.synology.com in the browser and install the DSM software using the wizard (downloaded from the Internet).
- After successful installation, shut down both NAS. The NAS are now ready for migration.
- Remove the hard drives from the old NAS and simply install them in the new NAS. ATTENTION the order of the installed hard drives must remain the same in the new NAS as in the old one, it is best to note where which hard drive was installed.
- Finally, start the new NAS and log in, the data will now be successfully migrated.
Enable 2-step verification
2-step authentication massively increases security by additionally entering a one-time verification code when logging in. Verification codes can be generated by apps on the smartphone. Authentication apps are Google Authenticator (Android/iPhone/BlackBerry) or Authenticator (Windows Phone).
Activate the 2-step verification
Click on the Admin icon at the top of the ribbon and then on Options [[image:5778845]]
Enable 2-step verification in the account section and follow the menu. [[image:5778846]]
An emergency e-mail address can be entered in the menu; this should be a secure e-mail address encrypted via SSL.
Download the appropriate app on your mobile and open it. In the 2-step verification setup, Synology generates a QR code that can be scanned with the app. The app then generates a 6-digit verification code, enter this code in the Synology setup for confirmation.
So the 2-step verification is already set up, click on "Close" to finish the setup and click on "Ok" in the account view to save.
Here are some useful links for more information:
From the latest iPhone to the return of 80s fashion. The editorial team will help you make sense of it all.
Show all